You have 0 items in your cart
Homemade Bagel Recipe
This post may contain affiliate links. View my privacy policy and disclosure policy for more details.
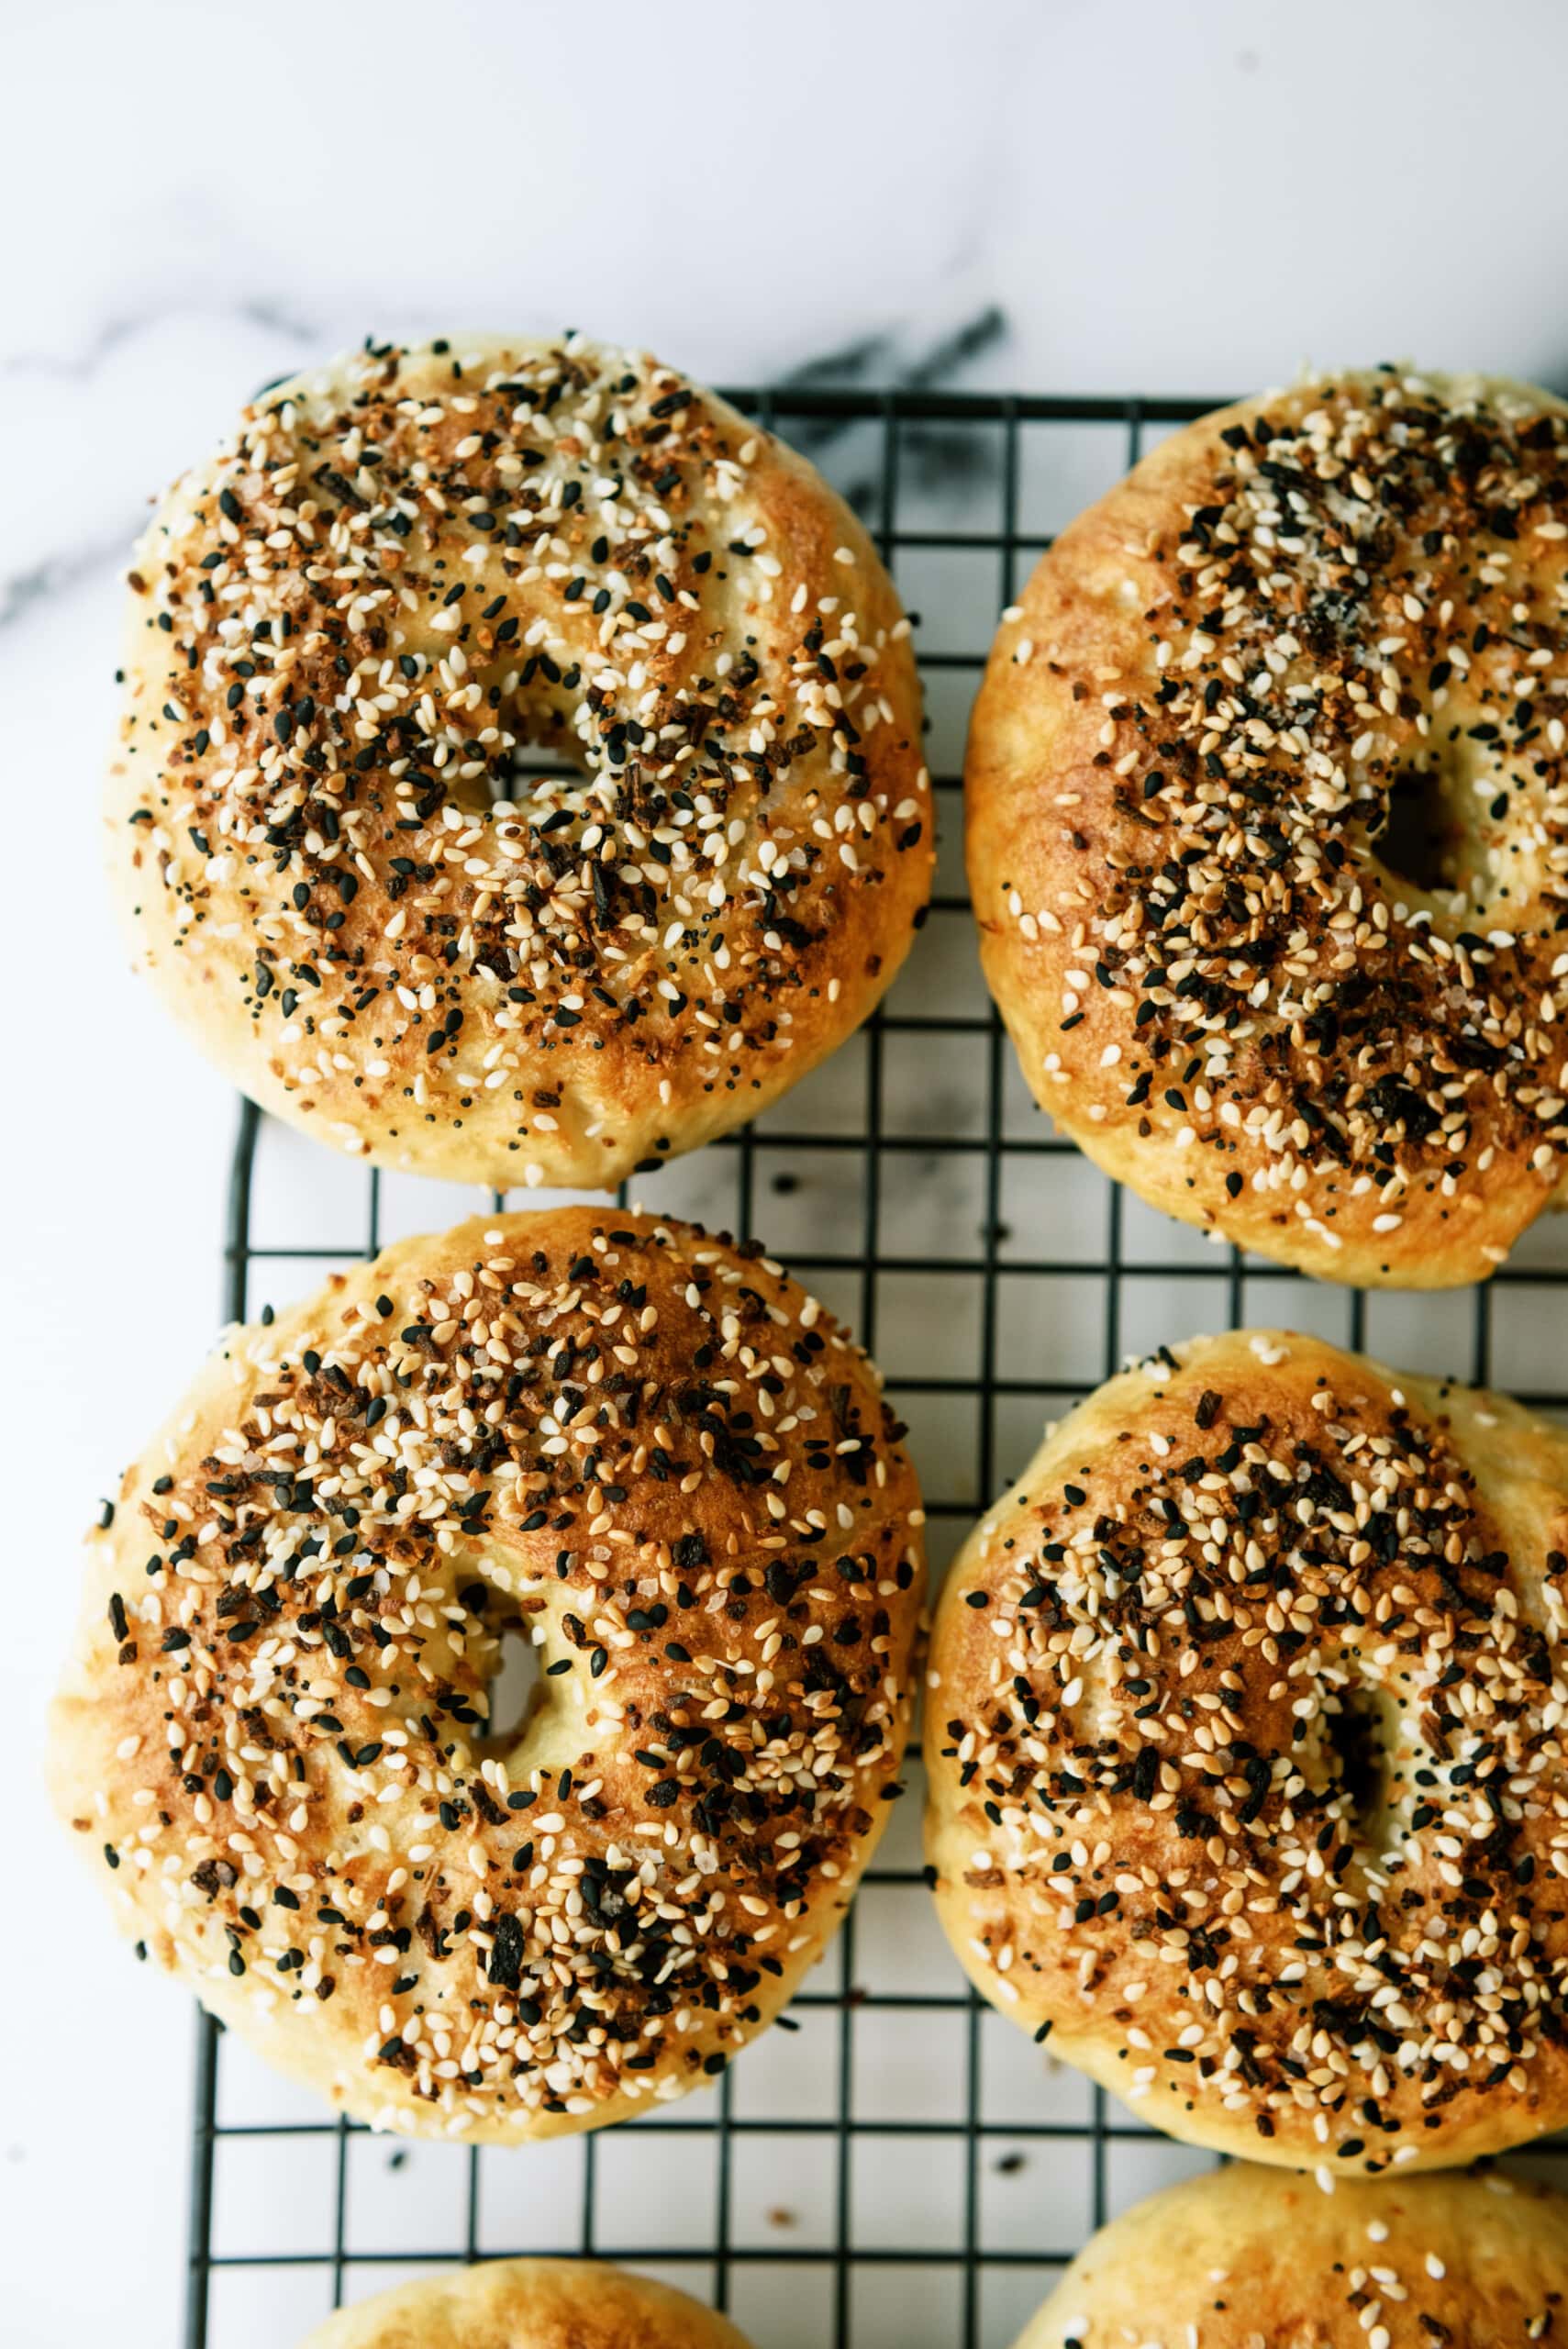
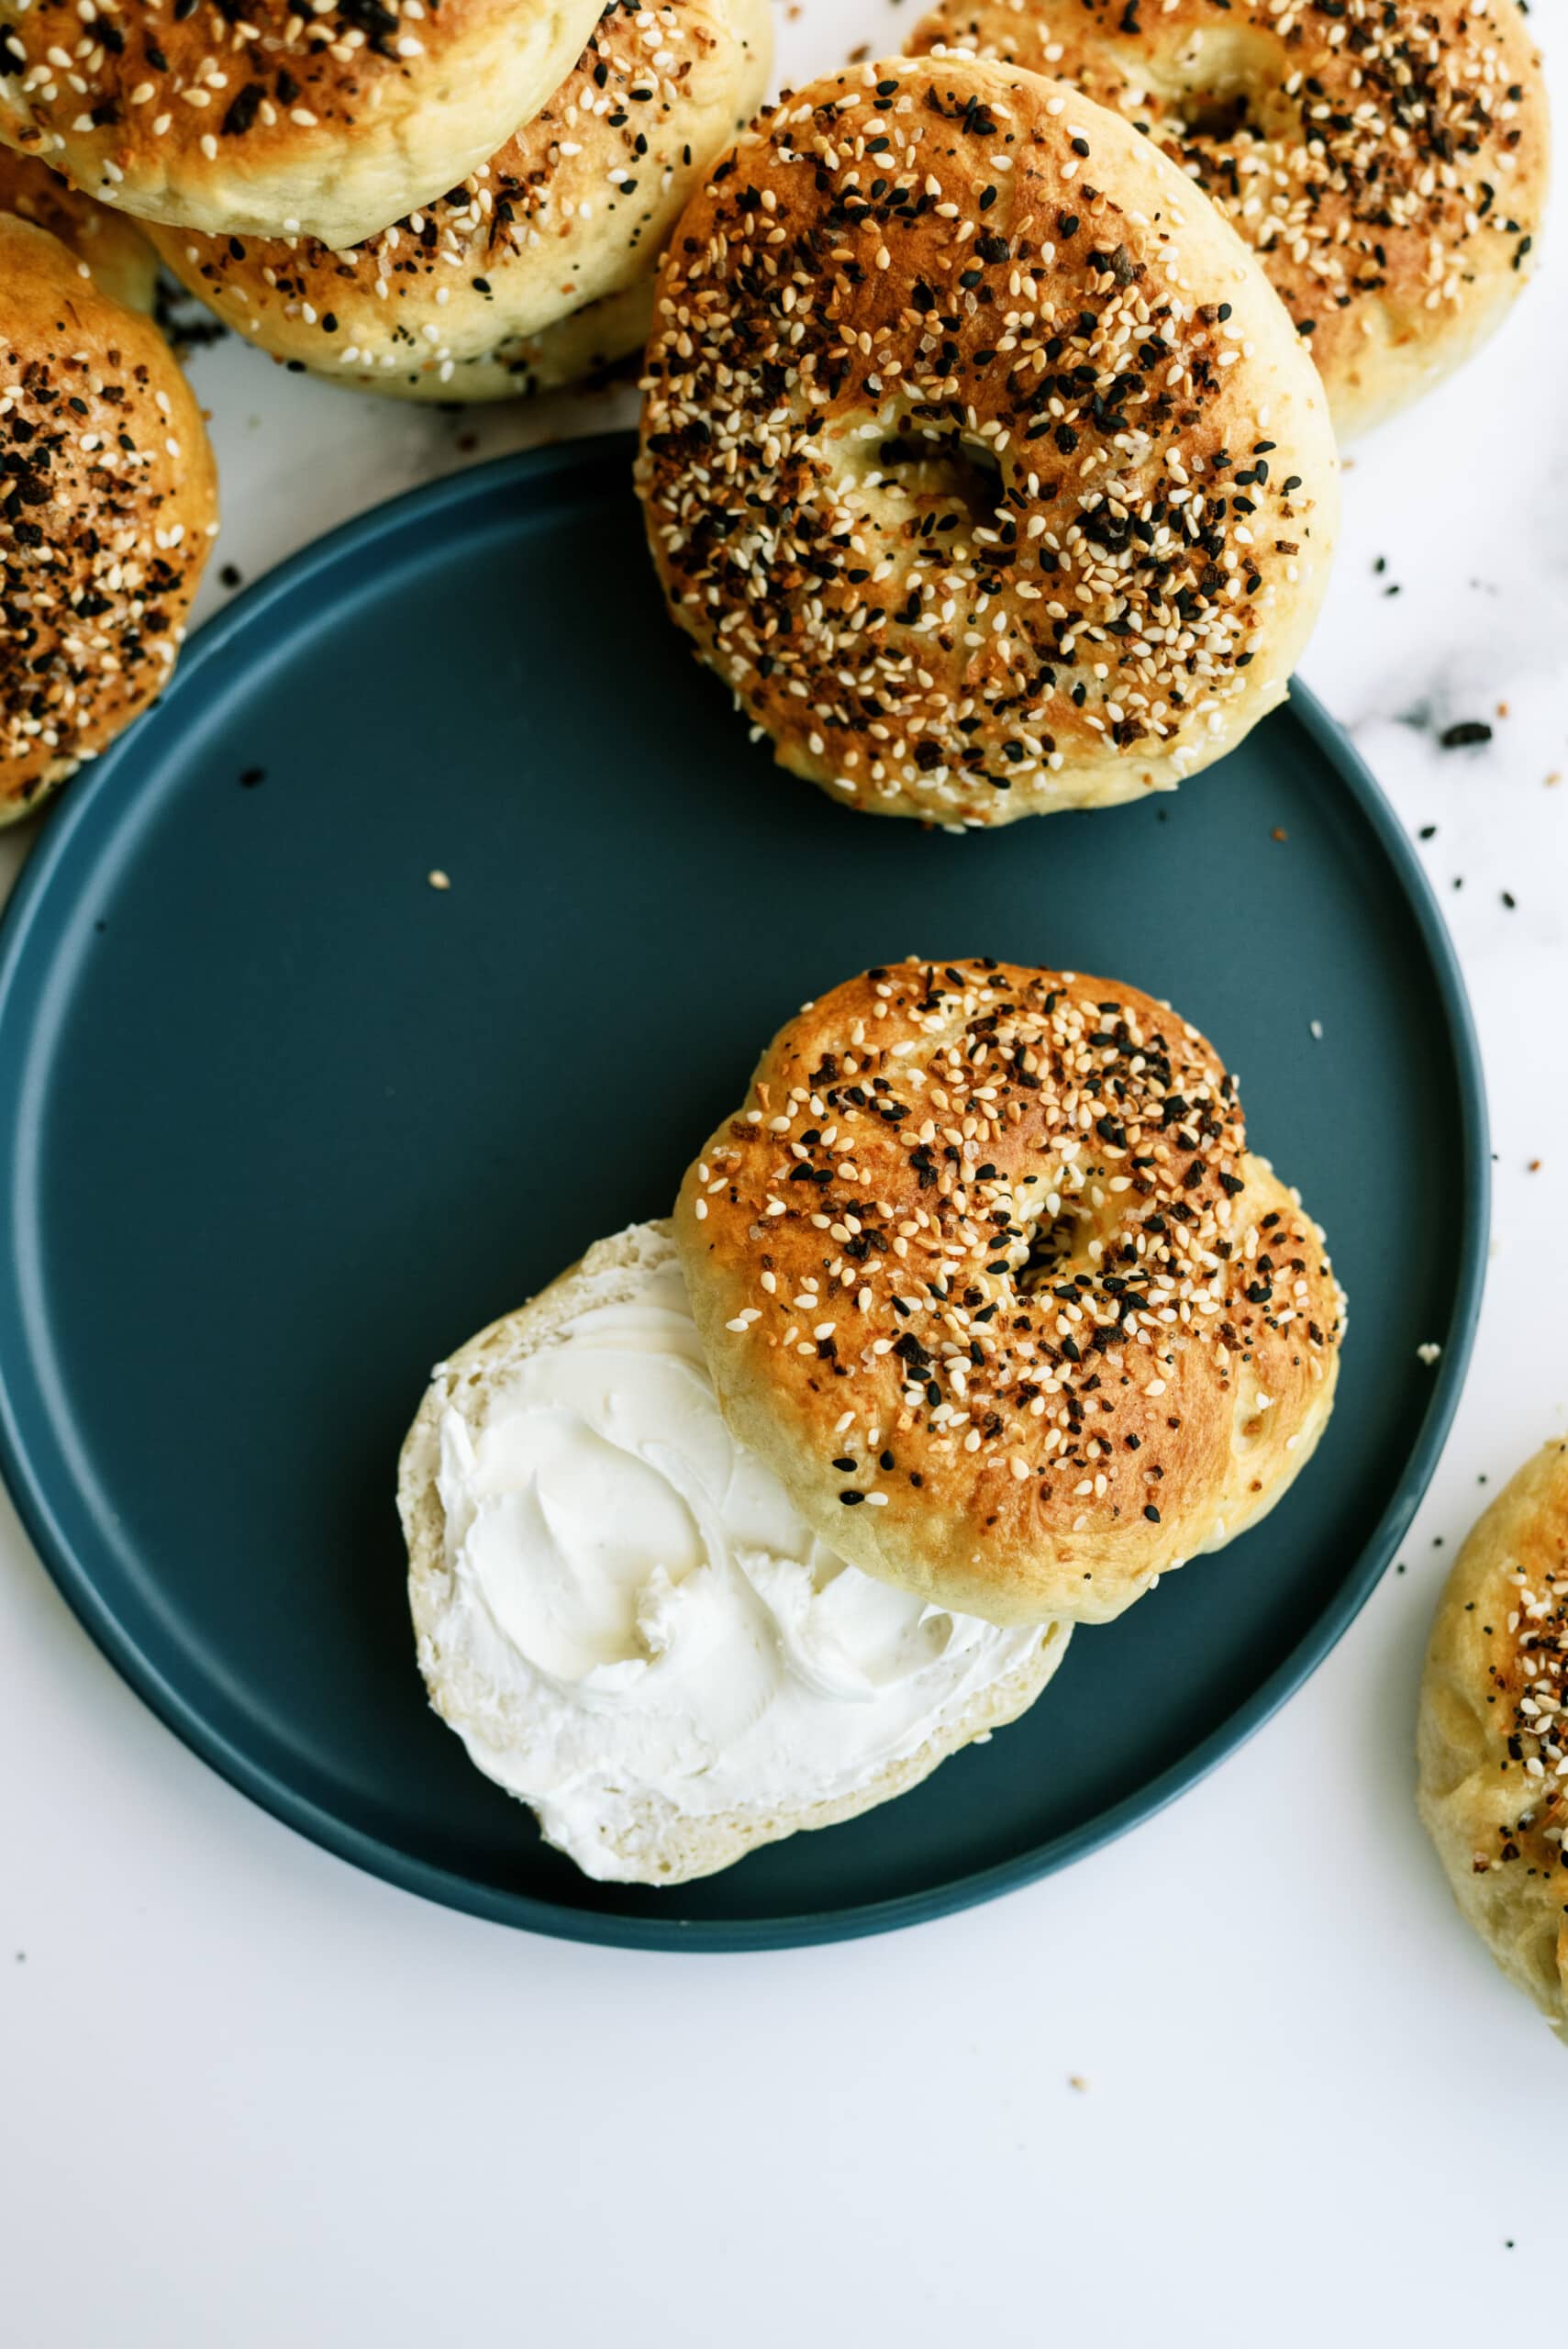
These Homemade Bagels are soft, chewy and delicious. Try them lightly toasted with butter or with your favorite spread for breakfast, lunch, or a snack. I love a good bagel with Broccoli Cheese Soup!
Homemade Bagels | Fresh + Soft
These homemade bagels are made using traditional methods (a yeasted dough boiled then baked), using some pantry staples and some less common ingredients. Don’t worry though, I have substitutions if you can’t find a certain ingredient. They come out fresh and soft plus they are way cheaper (and yummier) to make than store-bought bagels. Did I mention you can freeze these babies too? Yeah, you can. Overall, these were really delicious lightly toasted with butter, and tasted like a bagel. Shocking, I know.
Main Ingredients Needed + Substitutions
The ingredients for these bagels are divided into 3 sections- sponge, dough and finishing ingredients. Here is everything you’ll need:
For the Sponge Method aka Yeast Starter
- Instant Yeast – make sure you use fresh yeast for this recipe. That way you are guaranteed big soft poofy bagels.
- Unbleached High Gluten Flour – If you can’t find unbleached high-gluten flour in your grocery store, then bread flour will work as a substitute.
- Water – room temperature water works best. Just be sure that it isn’t cold.
For the Bagel Dough
- Instant Yeast – yes, more of this wonderful stuff.
- Unbleached High Gluten Flour – or bread flour like mentioned above.
- Salt– for flavor balancing.
- Malt Powder – for this particular recipe, I found and used Barley Malt Powder or ‘malt extract’. If you can’t find that, then malt or barley syrup, brown sugar, or honey are acceptable alternatives.
To Finish
- Baking Soda – this is added to the water when boiling the dough and creates that signature crunchy outside with a soft interior.
- Semolina Flour – this is used for dusting and helps prevent bagels from sticking to the pan. Use cornmeal if you can’t find semolina flour.
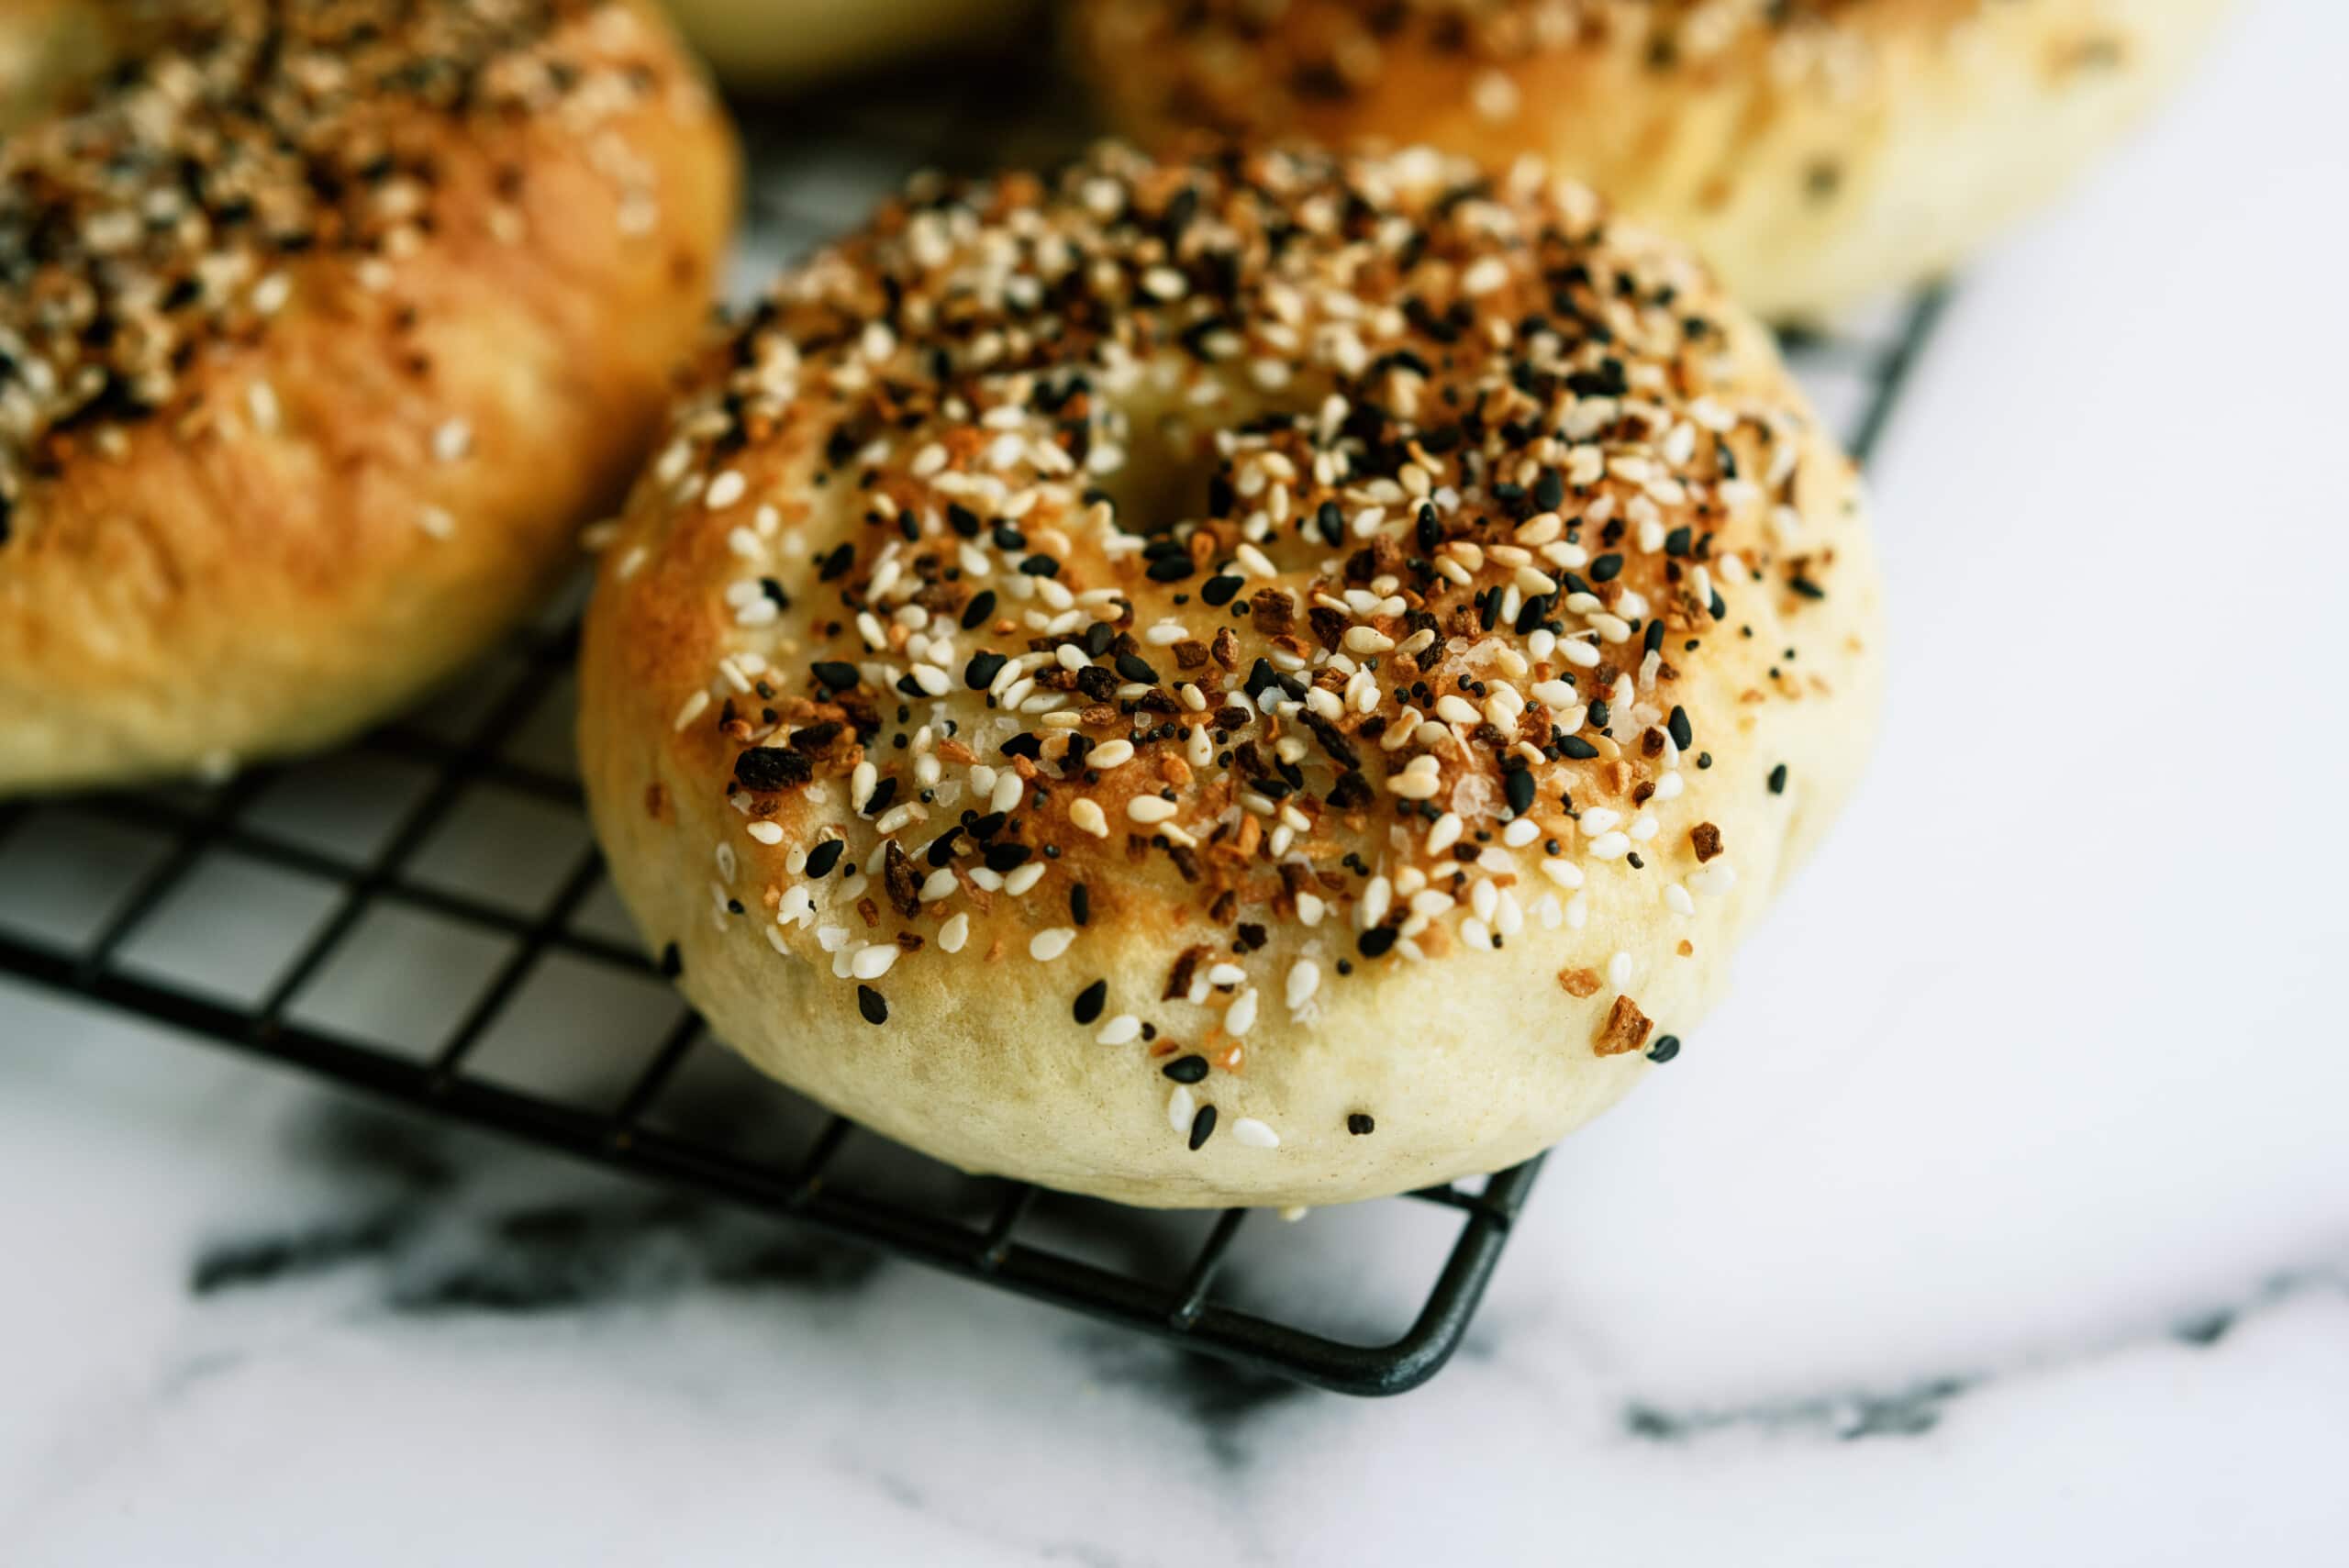
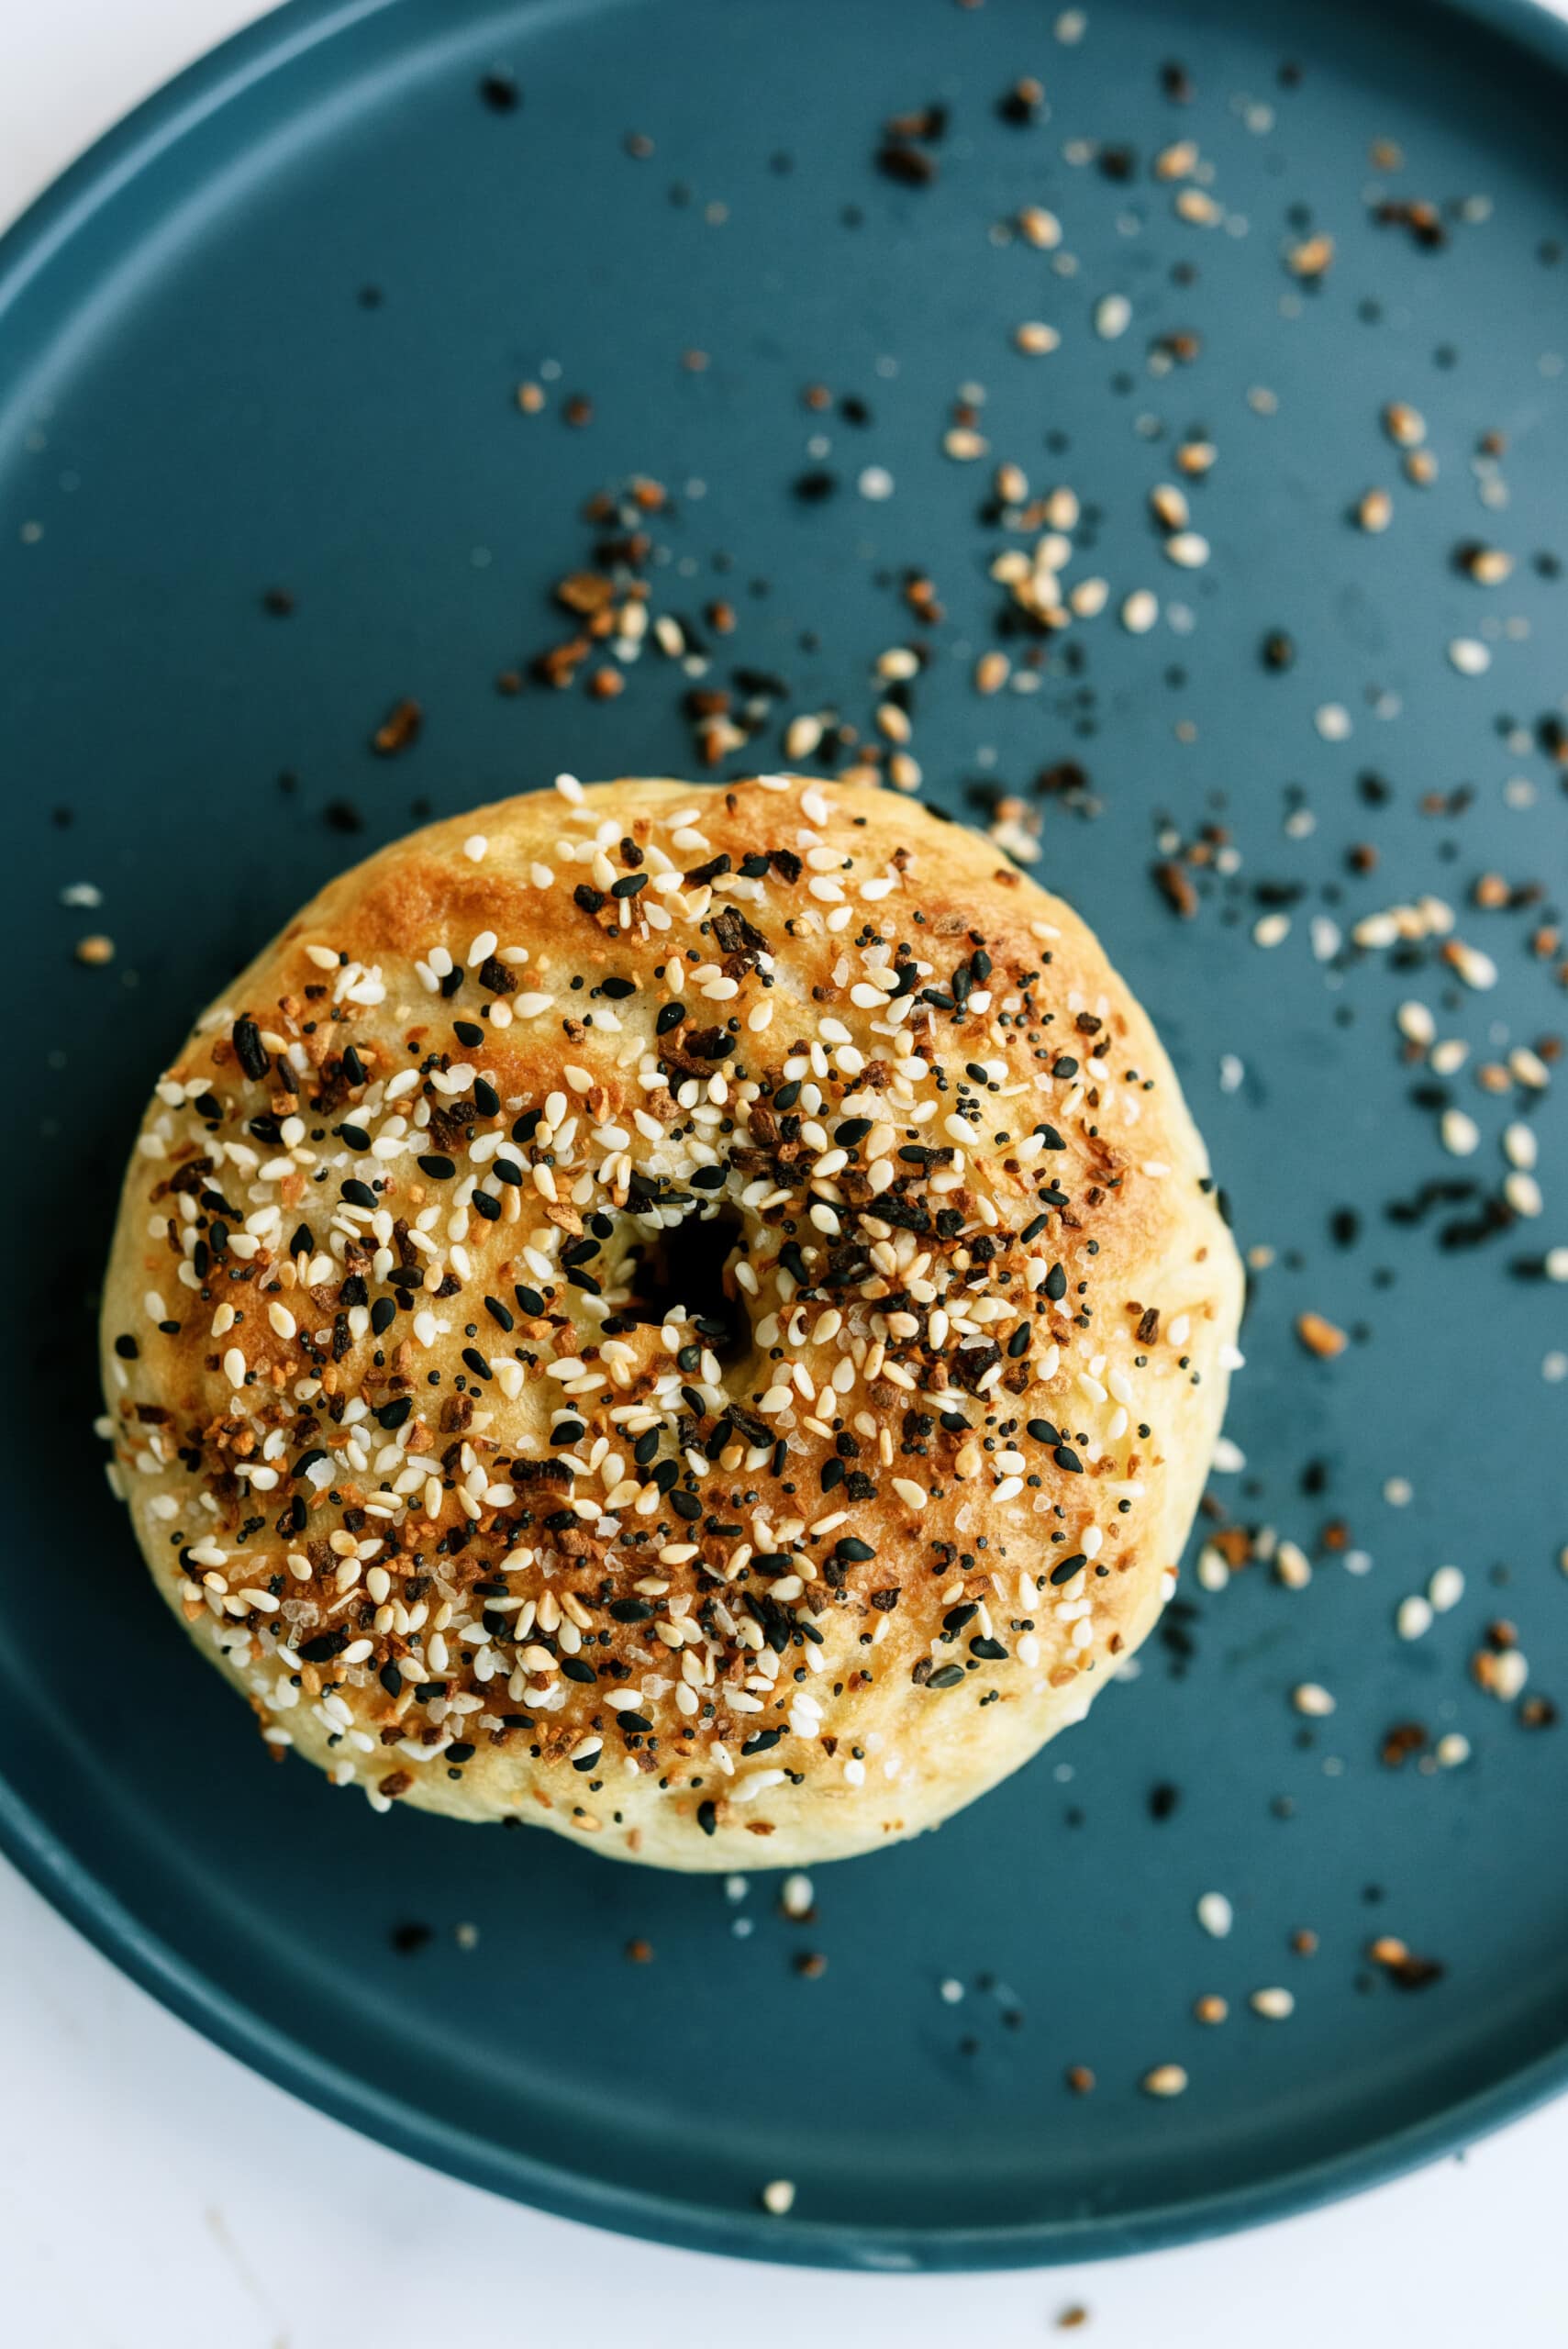
- Sesame Seeds +Poppy Seeds + Kosher Salt – to add on top of the bagels. Adds a slightly salty and nutty flavor and makes it pretty. You could also just go with the Everything Bagel Seasoning here.
- Rehydrated Dried Minced Garlic or Onions – to rehydrate simply let the dried ingredient soak in water for 15 minutes.

Before You Start, Read These Tips!
Here are a few notes I wanted to share as I made these bagels.
My dough is too dry/wet, what went wrong?
Nothing went wrong friend! Yeasted dough and its overall texture depends on the environment around it. If you live in a drier or more humid area your dough will turn out drier or wetter. Here’s how to fix it, if the dough is too dry {it rips} add in a little water. If the dough is tacky {sticky} then add in a little more flour. The finished dough should be soft, smooth, and firm.
Why are my homemade bagels flat?
This can be caused by a couple of things. First, make sure you are using fresh yeast. You can tell by your yeast starter turning foamy and bubbly that it’s working.
Second, make sure you don’t overproof your dough (you can test this by using the instructions in the ‘Step 7: Test Bagels for Over Proofing’ section of the post).
The third issue could be because you let the bagels boil for too long. I suggest boiling for 1-2 minutes on each side maximum (if you’re nervous just stick to one minute per side). Take your time, you don’t need the whole pot of water filled with bagel dough so just start with one or two to keep track of.
I can’t find cornmeal or semolina flour?
I didn’t have semolina flour to dust on the bottom of the pan before baking, so I just left them on the lightly greased parchment paper and they were fine. I had no problems with them sticking.
I can’t get my toppings to stick, what do I do?
Right after you boil the bagels, top them with your desired toppings right away so they stick! Don’t wait. Do that pronto. If you are still having trouble, make a quick egg wash (egg and a little bit of water) and brush the tops of the bagels after boiling. Sprinkle on your toppings and then bake!
My bagels are getting too brown too fast, help!
I baked my bagels closer to 15 minutes to get a golden brown. Every oven is different, so keep a close watch! It’s always a good idea to have an oven thermometer to make sure your oven is actually preheated to the temperature you want. If things are still getting a little too toasty, lightly cover with aluminum foil or carefully move your oven wrack down and away from the top heating element.

How To Make Bagels | Directions
For all of the nitty-gritty details on how to make these amazing homemade bagels, see the recipe card down below 🙂
Step 1: Make Yeast Starter (Sponge)
Stir yeast into the flour. Stir in the water until it forms a sticky thick batter. Cover the bowl with plastic wrap and leave it in a warm spot in your kitchen until the mixture is foamy, bubbly, and almost double in size.
Step 2: Make the Dough
Stir in the rest of the yeast to the sponge using a stand mixer {use the dough hook}. Stir in 3 cups of flour, salt and malt powder or syrup. After a minute or two, the dough will come together into a ball. Continue to sprinkle the remaining 3/4 cup flour into the dough with the machine on low. {At this point, I had to remove the dough and knead the rest of the flour in by hand.}
Step 3: Continue Kneading
If you keep your dough in the mixer, continue kneading for 6 minutes. If you transfer the dough to the counter to knead by hand, knead for 10 minutes. At this point, all the flour should be incorporated into the dough and the dough should be soft, smooth, and firm. If the dough is too dry {it rips} add in a little water. If the dough is tacky {sticky} then add in a little more flour.
Step 4: Divide Dough + Let Rest
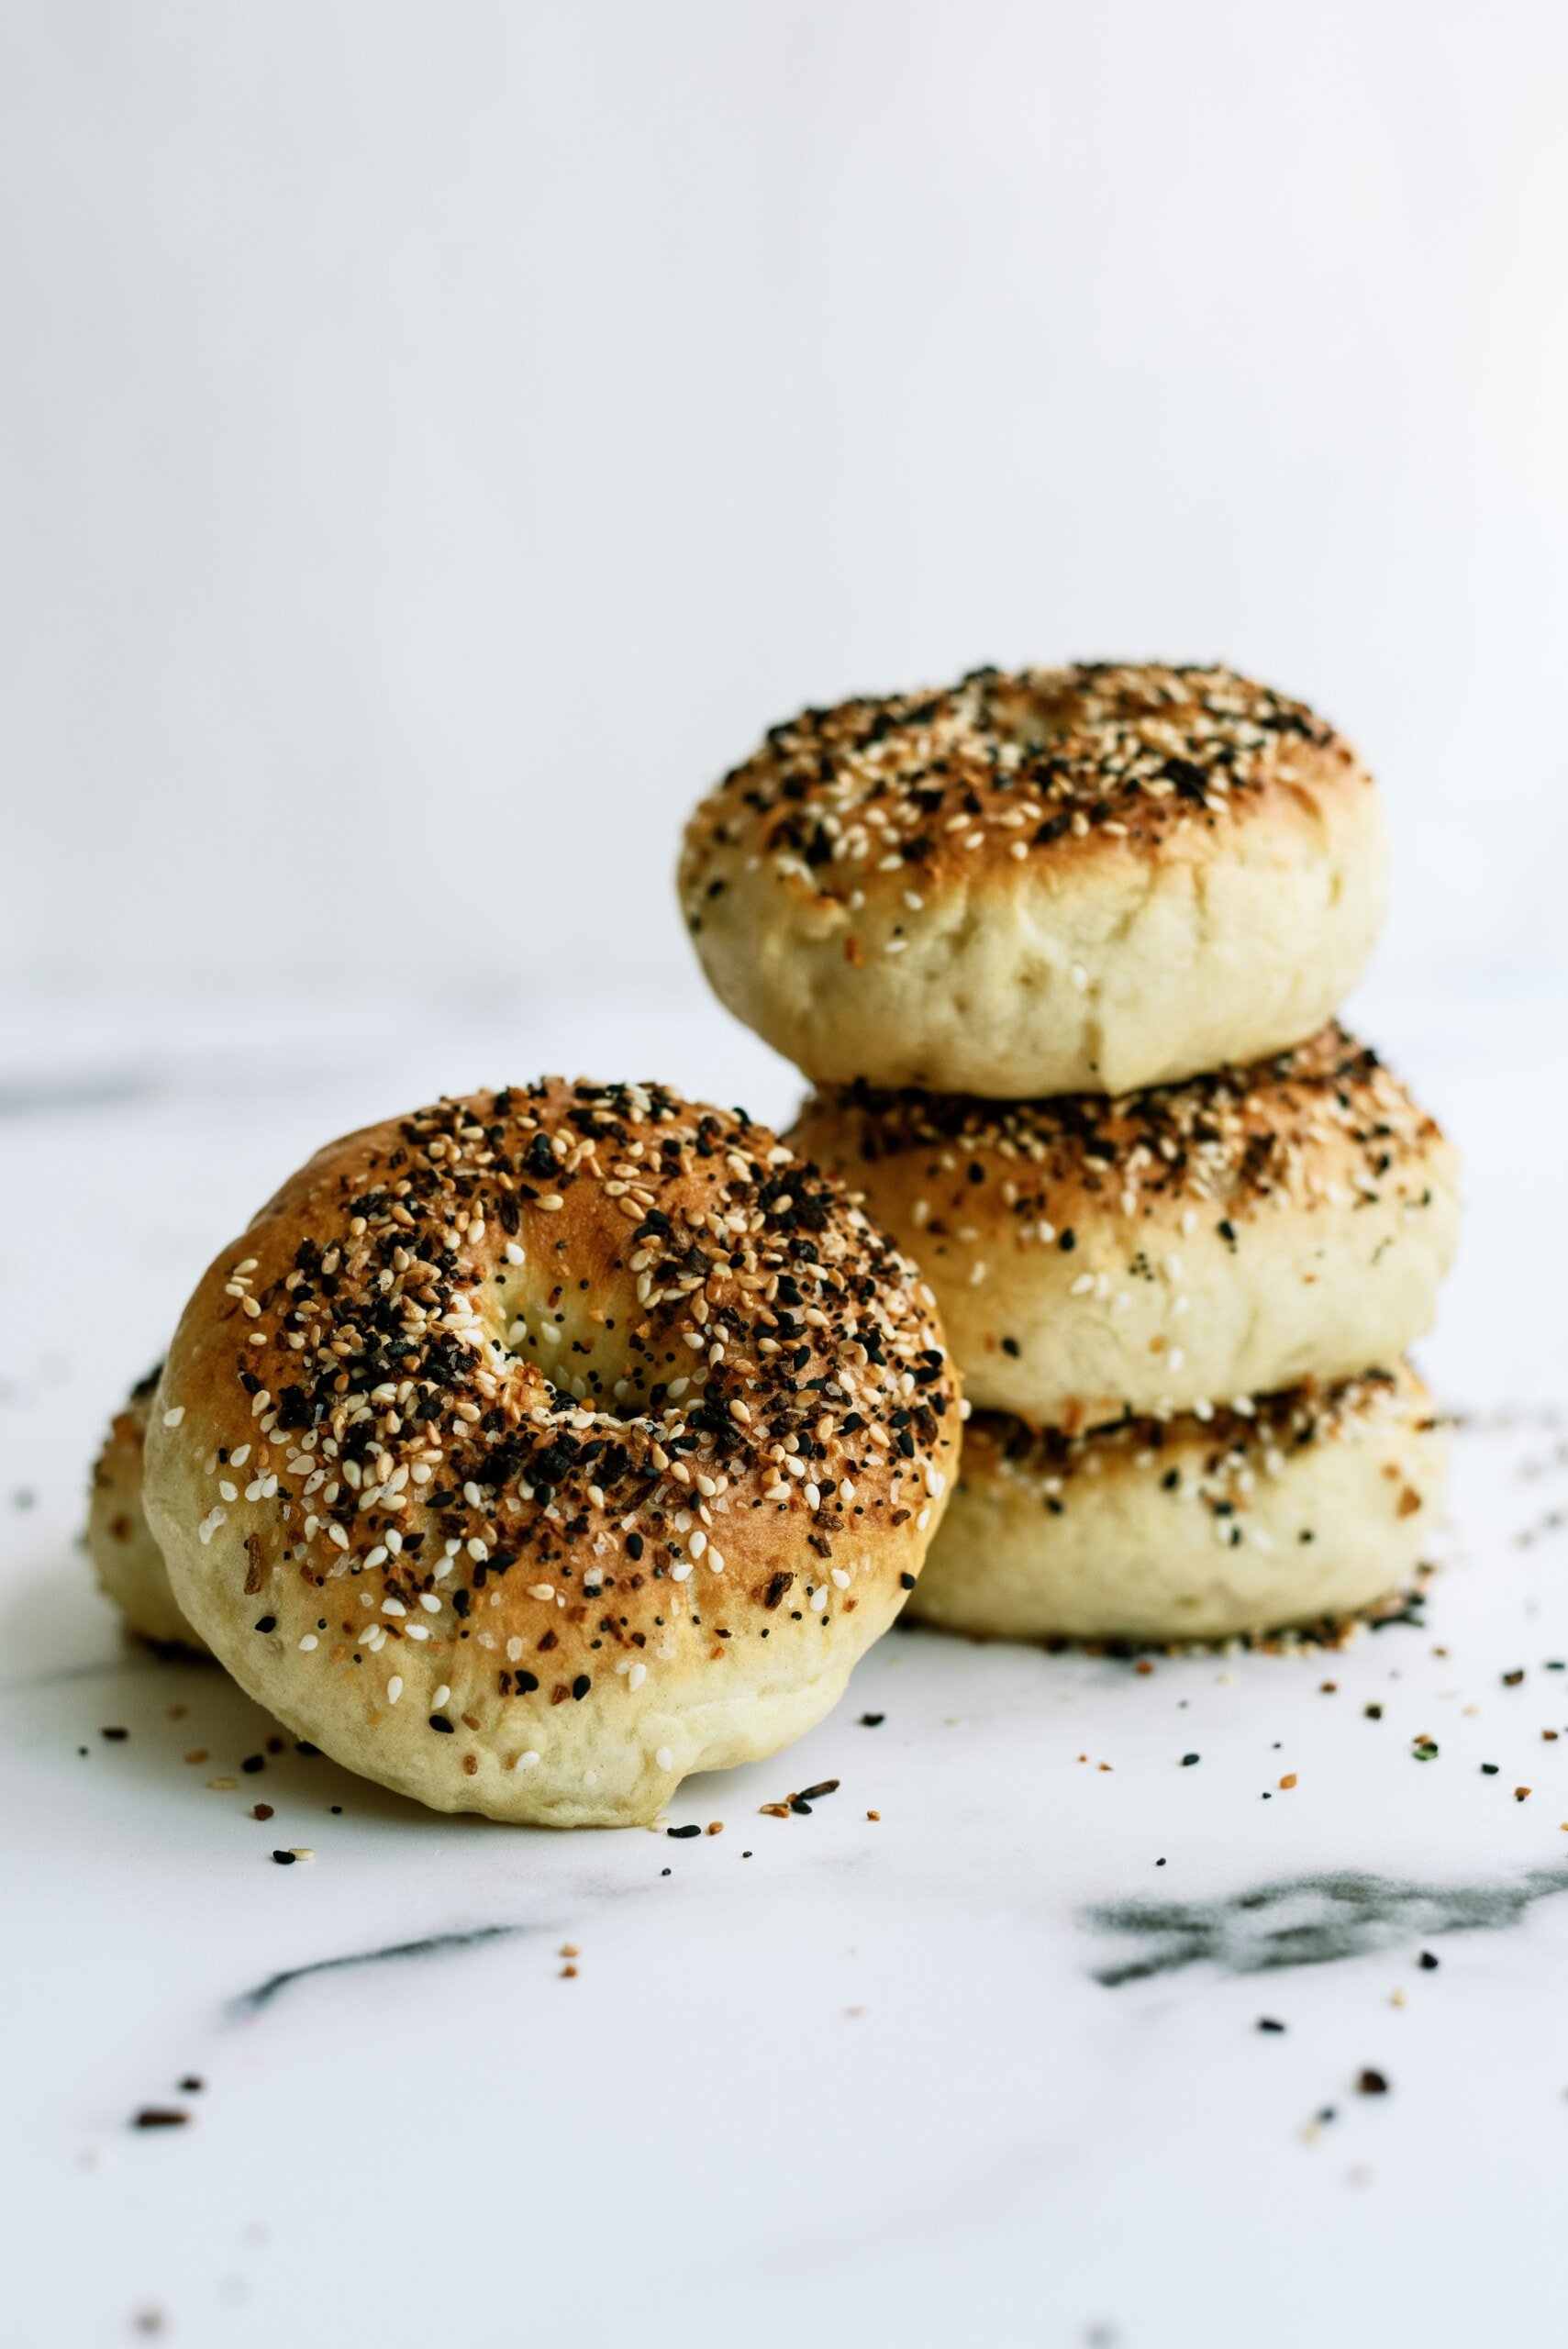
Divide dough into 4 1/2 ounce pieces for normal ‘standard size’ bagels and 2 1/4 ounce pieces for mini bagels. Roll dough into smooth balls and place on lightly greased parchment paper. Cover rolls with plastic wrap or a damp towel and let them rest for 20 minutes or so.
Step 5: Pinch a Hole In Each Roll Forming a Bagel
Line 2 baking sheets with parchment paper and lightly spray with non stick cooking spray. Take each roll in your hand and carefully pinch a hole into the center forming a bagel. Try to keep the bagel as even as possible doing your best to avoid thick and thin spots. {You can also roll the dough into a rope and form bagels that way–I just thought it was easier to poke the hole in the center.}
Step 6: Place On Baking Sheets, Cover + Let Pans Rest
Place each bagel 1-2 inches apart on the prepared pans. Mist the bagels with non-stick cooking spray and cover loosely with plastic wrap. Let the pans sit at room temperature for about 20 minutes.
Step 7: Test Bagels for Over-Proofing
After 20 minutes, check to see if you’re ready to finish the bagels. Drop a bagel into room temperature water. If it floats within 10 seconds, then they are ready to be boiled and baked. If the bagel doesn’t float, pat it dry lightly and return it to the pan to continue to proof. Check back every 10 to 20 minutes or so until a tester floats. Once a tester floats, place bagels into the fridge until you are ready to cook them OR get ready to boil and bake!
Step 8: Prep Water To Boil Bagels
When you are ready to bake the bagels, preheat the oven with the two racks set in the middle of the oven. Bring a large pot of water to a boil, and add the baking soda and optionally, a few tablespoons of barley syrup.
Step 9: Boil + Add Sesame or Poppy Seeds
Remove the bagels from the refrigerator and gently drop them into the water, boiling only as many as comfortably fit. After 1 minute flip them over and boil for another minute. If you like very chewy bagels, you can extend the boiling to 2 minutes per side. While the bagels are boiling, sprinkle the same parchment-lined sheet pans with cornmeal or semolina flour. If you want to top the bagels with sesame or poppy seeds, do so as soon as they come out of the water so they stick!
Step 10: Bake + Cool
When all the bagels have been boiled, place the pans on the 2 middle shelves in the oven. Bake for approximately 5 minutes, then rotate the pans, switching shelves and giving the pans a 180-degree rotation. If you are baking only 1 pan, keep it on the center shelf but still rotate 180 degrees.
After the rotation, lower the oven setting and continue baking for about 5 minutes, or until the bagels turn light golden brown. You may bake them darker if you prefer. I ended up baking mine for 15 minutes to get the golden color I like, turning my pans 3 times, once every 5 minutes.
Remove the pans from the oven and cool the bagels 5-10 minutes before removing to a cooling rack.
Storing Homemade Bagels
Bagels are best eaten fresh, honestly. They tend to dry out quickly in a manner of days. However, once completely cools, you can leave them in a rolled-up paper bag on the counter at room temperature for a couple of days. I’ve heard of refrigerating bagels to keep them fresher for longer, but refrigerating bagels actually makes them dry out faster.
Freezing Instructions
You can also freeze them in an airtight bag for up to 3 months. Here’s a helpful tip, slice your bagels before you freeze them that way they can go straight into the toaster for a couple more minutes for a fast defrost and toast time!
Love Homemade Bagels? Give These Other Breakfast Breads a Try…
Anyways, if you have some time on your hands, I would recommend making these homemade bagels. They make your kitchen smell wonderful and working with dough seems to be therapeutic. At least for me, it was. So, without further ado, the printable recipe card is below. Enjoy, friends! 🙂

Homemade Bagels
These Homemade Bagels are a delicious treat. Try them lightly toasted with butter for breakfast, lunch or a snack!
Ingredients
Sponge:
- 1 teaspoon instant yeast
- 4 cups unbleached high-gluten flour or bread flour, see note below
- 2 1/2 cups water room temperature
Dough
- 1/2 teaspoon instant yeast
- 3 3/4 cups unbleached high-gluten or bread flour, see note below
- 2 3/4 teaspoons salt
- 2 teaspoons malt powder or 1 tablespoon dark or light malt syrup, honey, or brown sugar *see note below
To Finish
- 1 tablespoon baking soda
- cornmeal or semolina flour for dusting
- sesame seeds
- poppy seeds
- kosher salt
- rehydrated dried minced garlic or onions (*Deb note: this was what I chose, and found the taste very authentic, or chopped onions that have been tossed in oil – optional
Instructions
- First, make the sponge for the bagels. Stir yeast into the flour. Stir in the water until it forms a sticky thick batter. Cover the bowl with plastic wrap and leave it in a warm spot in your kitchen for about 2 hours or until the mixture is foamy, bubbly and almost double in size.
- To make the dough, stir in the rest of the yeast to the sponge using a stand mixer {use the dough hook}. Stir in 3 cups of flour, salt and malt powder or syrup. After a minute or two, the dough will come together into a ball. Continue to sprinkle the remaining 3/4 cup flour into the dough with the machine on low. {At this point, I had to remove the dough and knead the rest of the flour in by hand.}
- If you keep your dough in the mixer, continue kneading for 6 minutes. If you transfer the dough to the counter to knead by hand, knead for 10 minutes. At this point, all the flour should be incorporated into the dough and the dough should be soft, smooth and firm. If the dough is too dry {rips} add in a little water. If the dough is tacky {sticky} then add in a little more flour.
- Divide dough into 4 1/2 ounce pieces for normal ‘standard size’ bagels and 2 1/4 ounce pieces for mini bagels. Roll dough into smooth balls and place on lightly greased parchment paper. Cover rolls with plastic wrap or a damp towel and let them rest for 20 minutes or so.
- Line 2 baking sheets with parchment paper and lightly spray with non stick cooking spray. Take each roll in your hand and carefully pinch a hole into the center forming a bagel. Try to keep the bagel as even as possible doing your best to avoid thick and thin spots. {You can also roll the dough into a rope and form bagels that way–I just thought it was easier to poke the hole in the center.}
- Place each bagel 1-2 inches apart on the prepared pans. Mist the bagels with non-stick cooking spray and cover loosely with plastic wrap. Let the pans sit at room temperature for about 20 minutes.
- After 20 minutes, check to see if you’re ready to finish the bagels. Drop a bagel into room temperature water. If it floats within 10 seconds, then they are ready to be boiled and baked or retarded in the fridge. If the bagel doesn’t float, pat it dry lightly and return in to the pan to continue to proof. Check back every 10 to 20 minutes or so until a tester floats. Once a tester floats, place bagels into the fridge until you are ready to cook them OR get ready to boil and bake!
- When you are ready to bake the bagels, preheat the oven to 500 degrees F with the two racks set in the middle of the oven. Bring a large pot of water to a boil, and add the baking soda and optionally, a few tablespoons of barley syrup.
- Remove the bagels from the refrigerator and gently drop them into the water, boiling only as many as comfortably fit. After 1 minutes flip them over and boil for another minute. If you like very chewy bagels, you can extend the boiling to 2 minutes per side. While the bagels are boiling, sprinkle the same parchment-lined sheet pans with cornmeal or semolina flour. {I didn’t have any semolina so I just kept the same parchment covered baking sheets and sprayed a little more non stick cooking spray on them and it worked just fine!} If you want to top the bagels with sesame or poppy seeds, do so as soon as they come out of the water so they stick!
- When all the bagels have been boiled, place the pans on the 2 middle shelves in the oven. Bake for approximately 5 minutes, then rotate the pans, switching shelves and giving the pans a 180-degree rotation. If you are baking only 1 pan, keep it on the center shelf but still rotate 180 degrees. After the rotation, lower the oven setting to 450 degrees F and continue baking for about 5 minutes, or until the bagels turn light golden brown. You may bake them darker if you prefer. I ended up baking mine 15 minutes to get the golden color I like, turning my pans 3 times, once every 5 minutes.
- Remove the pans from the oven and cool the bagels 5-10 minutes before removing to a cooling rack.
Notes
- I didn’t have semolina flour to dust on the bottom of the pan before baking, so I just left them on the lightly greased parchment paper and they were fine. I had no problems with them sticking.
- Right after you boil the bagels, top them with your desired toppings right away so they stick! Don’t wait. Do that pronto.
- I baked my bagels closer to 15 minutes to get a golden brown. Every oven is different, so keep close watch!
Nutrition
Calories: 233kcalCarbohydrates: 46gProtein: 8gFat: 1gSaturated Fat: 1gCholesterol: 1mgSodium: 619mgPotassium: 91mgFiber: 2gSugar: 1gVitamin A: 6IUVitamin C: 1mgCalcium: 18mgIron: 1mg
Rate This RecipePlease consider Leaving a 5-Star Review!


Looks like this recipe is a good opportunity to give my bagels and authentic NY chew! Wondering if adding a little sifted durum flour to the bread flour would increase the protein content enough to accomplish this. Any thoughts about the ratio between the bread and durum flours? I don’t want to compromise elasticity.
I’ve been making homemade bagels for years but decided to mix things up. This will be my new go-to recipe going forward. So good!
Do you have any suggestions for how to adjust for altitude? I live in Denver and would love to try these!
No need to adjust – I live in ABQ another mile-high city.
Love this! I’ve been making homemade bagels for a few years, but I like your recipe better than my old recipe!
I was thinking about an art class I go to on Saturday mornings. We usually have finger breakfast food members bring in. I Am going to try the mini bagels. It will be perfect with butter and maybe jelly on the side. Thank you for posting!
At this point, all the flour should be incorporated into the dough and the dough should be soft, smooth and firm. If the dough is too dry {rips} add in a little water. If the dough is tacky {sticky} then add in a little more water
Is this right? So if the dough is too dry we add water and if the dough is sticky we still add water or flour? Wouldn’t adding water make it sticky??
It’s just a typo. Flour would be added in if it’s too sticky.
you might edit the post; I had the same correction to note! someone not reading comments might not understand. Otherwise, these sound great and I’m adding them to my to-do list for 2015!
These are adorable, and look delicious! Thanks for posting!
Did you know that homemade bagels is my favorite,.. you did a great job Lauren. love it so much 🙂
I love the idea of a mini bagel!! These look awesome!
Oh my goodness how cute are those bagels? They look soooo good. I LOVE bagels (obviously, haha!).
I hope you get better soon 🙂
beautiful job, lauren. Aren’t homemade bagels the best?! And I love these ‘minis’..portion control, and all 😉 Keep hunting for that high gluten bread flour..it does make alll the difference in bagel “chew”…
love,
cathy b.
P.S. sending get well wishes your way! Being sick is no fun at all!Fingers crossed, the Mister and I have made it to March without any colds/flu all winter. And just saying that makes me feel like I’m jinxing myself!!