You have 0 items in your cart
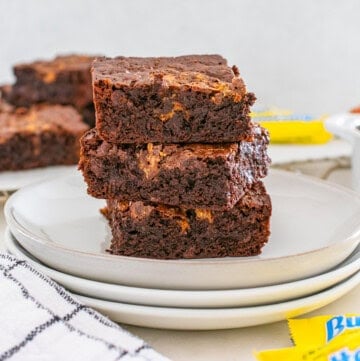
Butterfinger Brownies
This post may contain affiliate links. View my privacy policy and disclosure policy for more details.
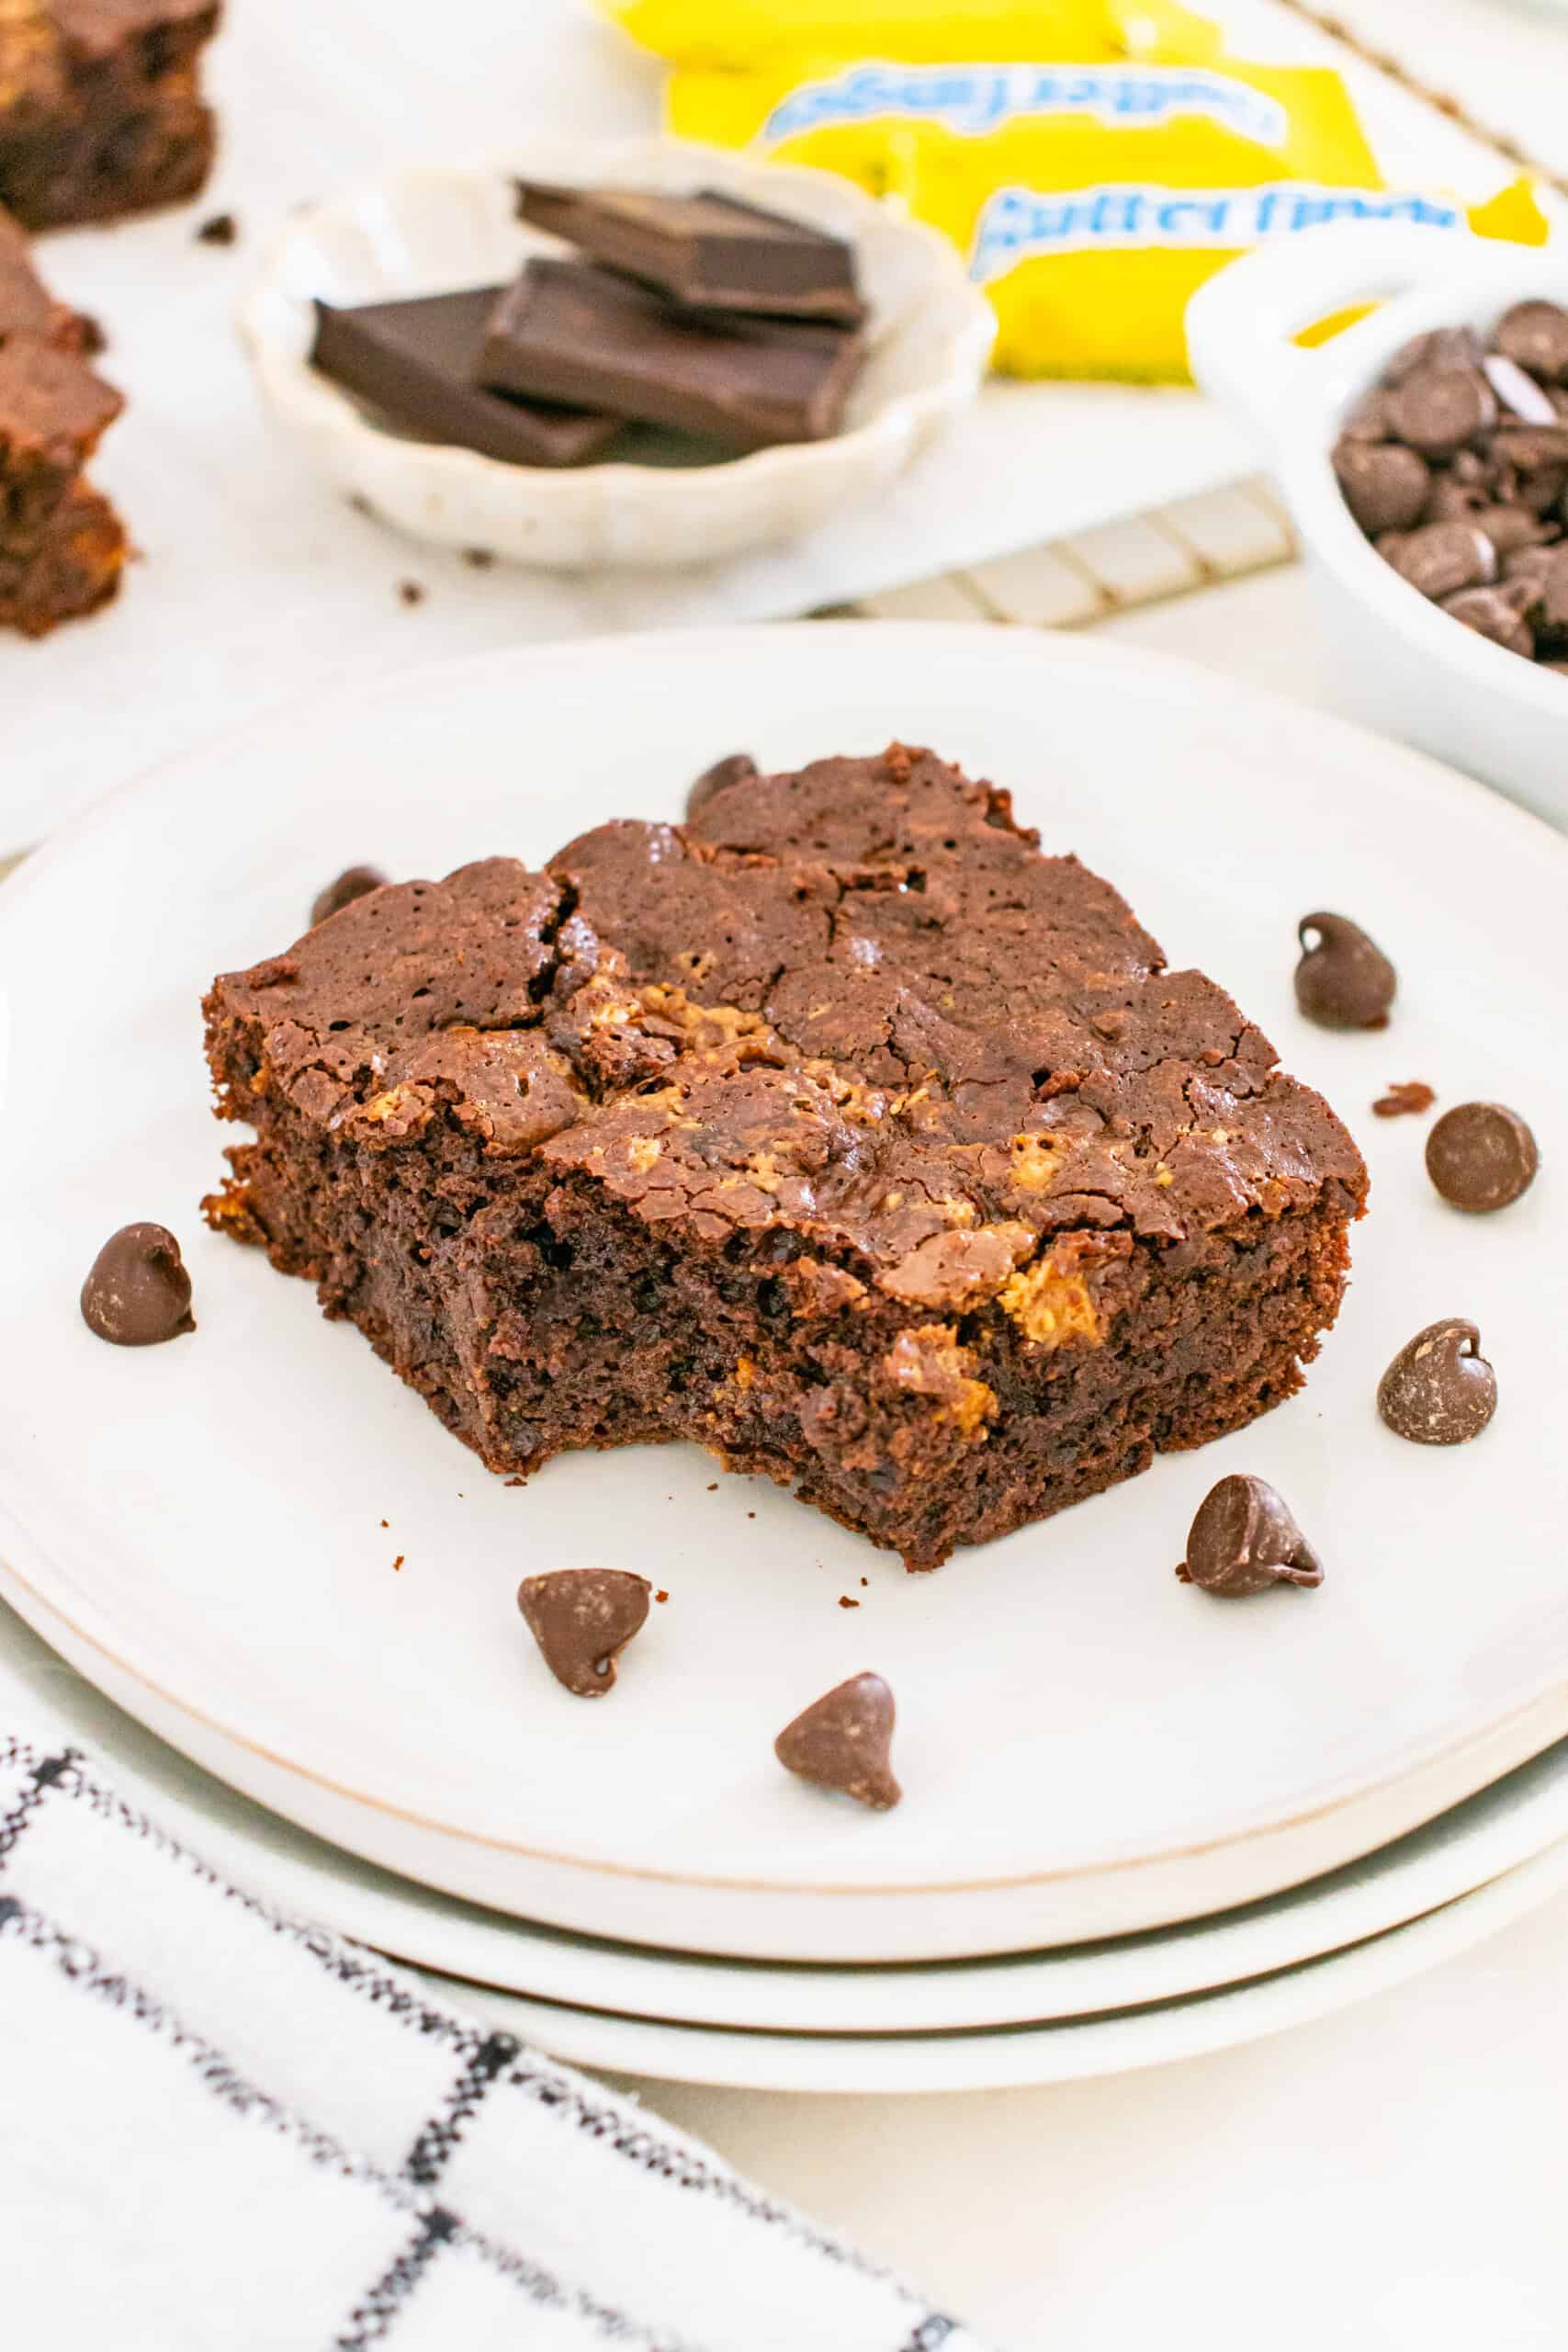
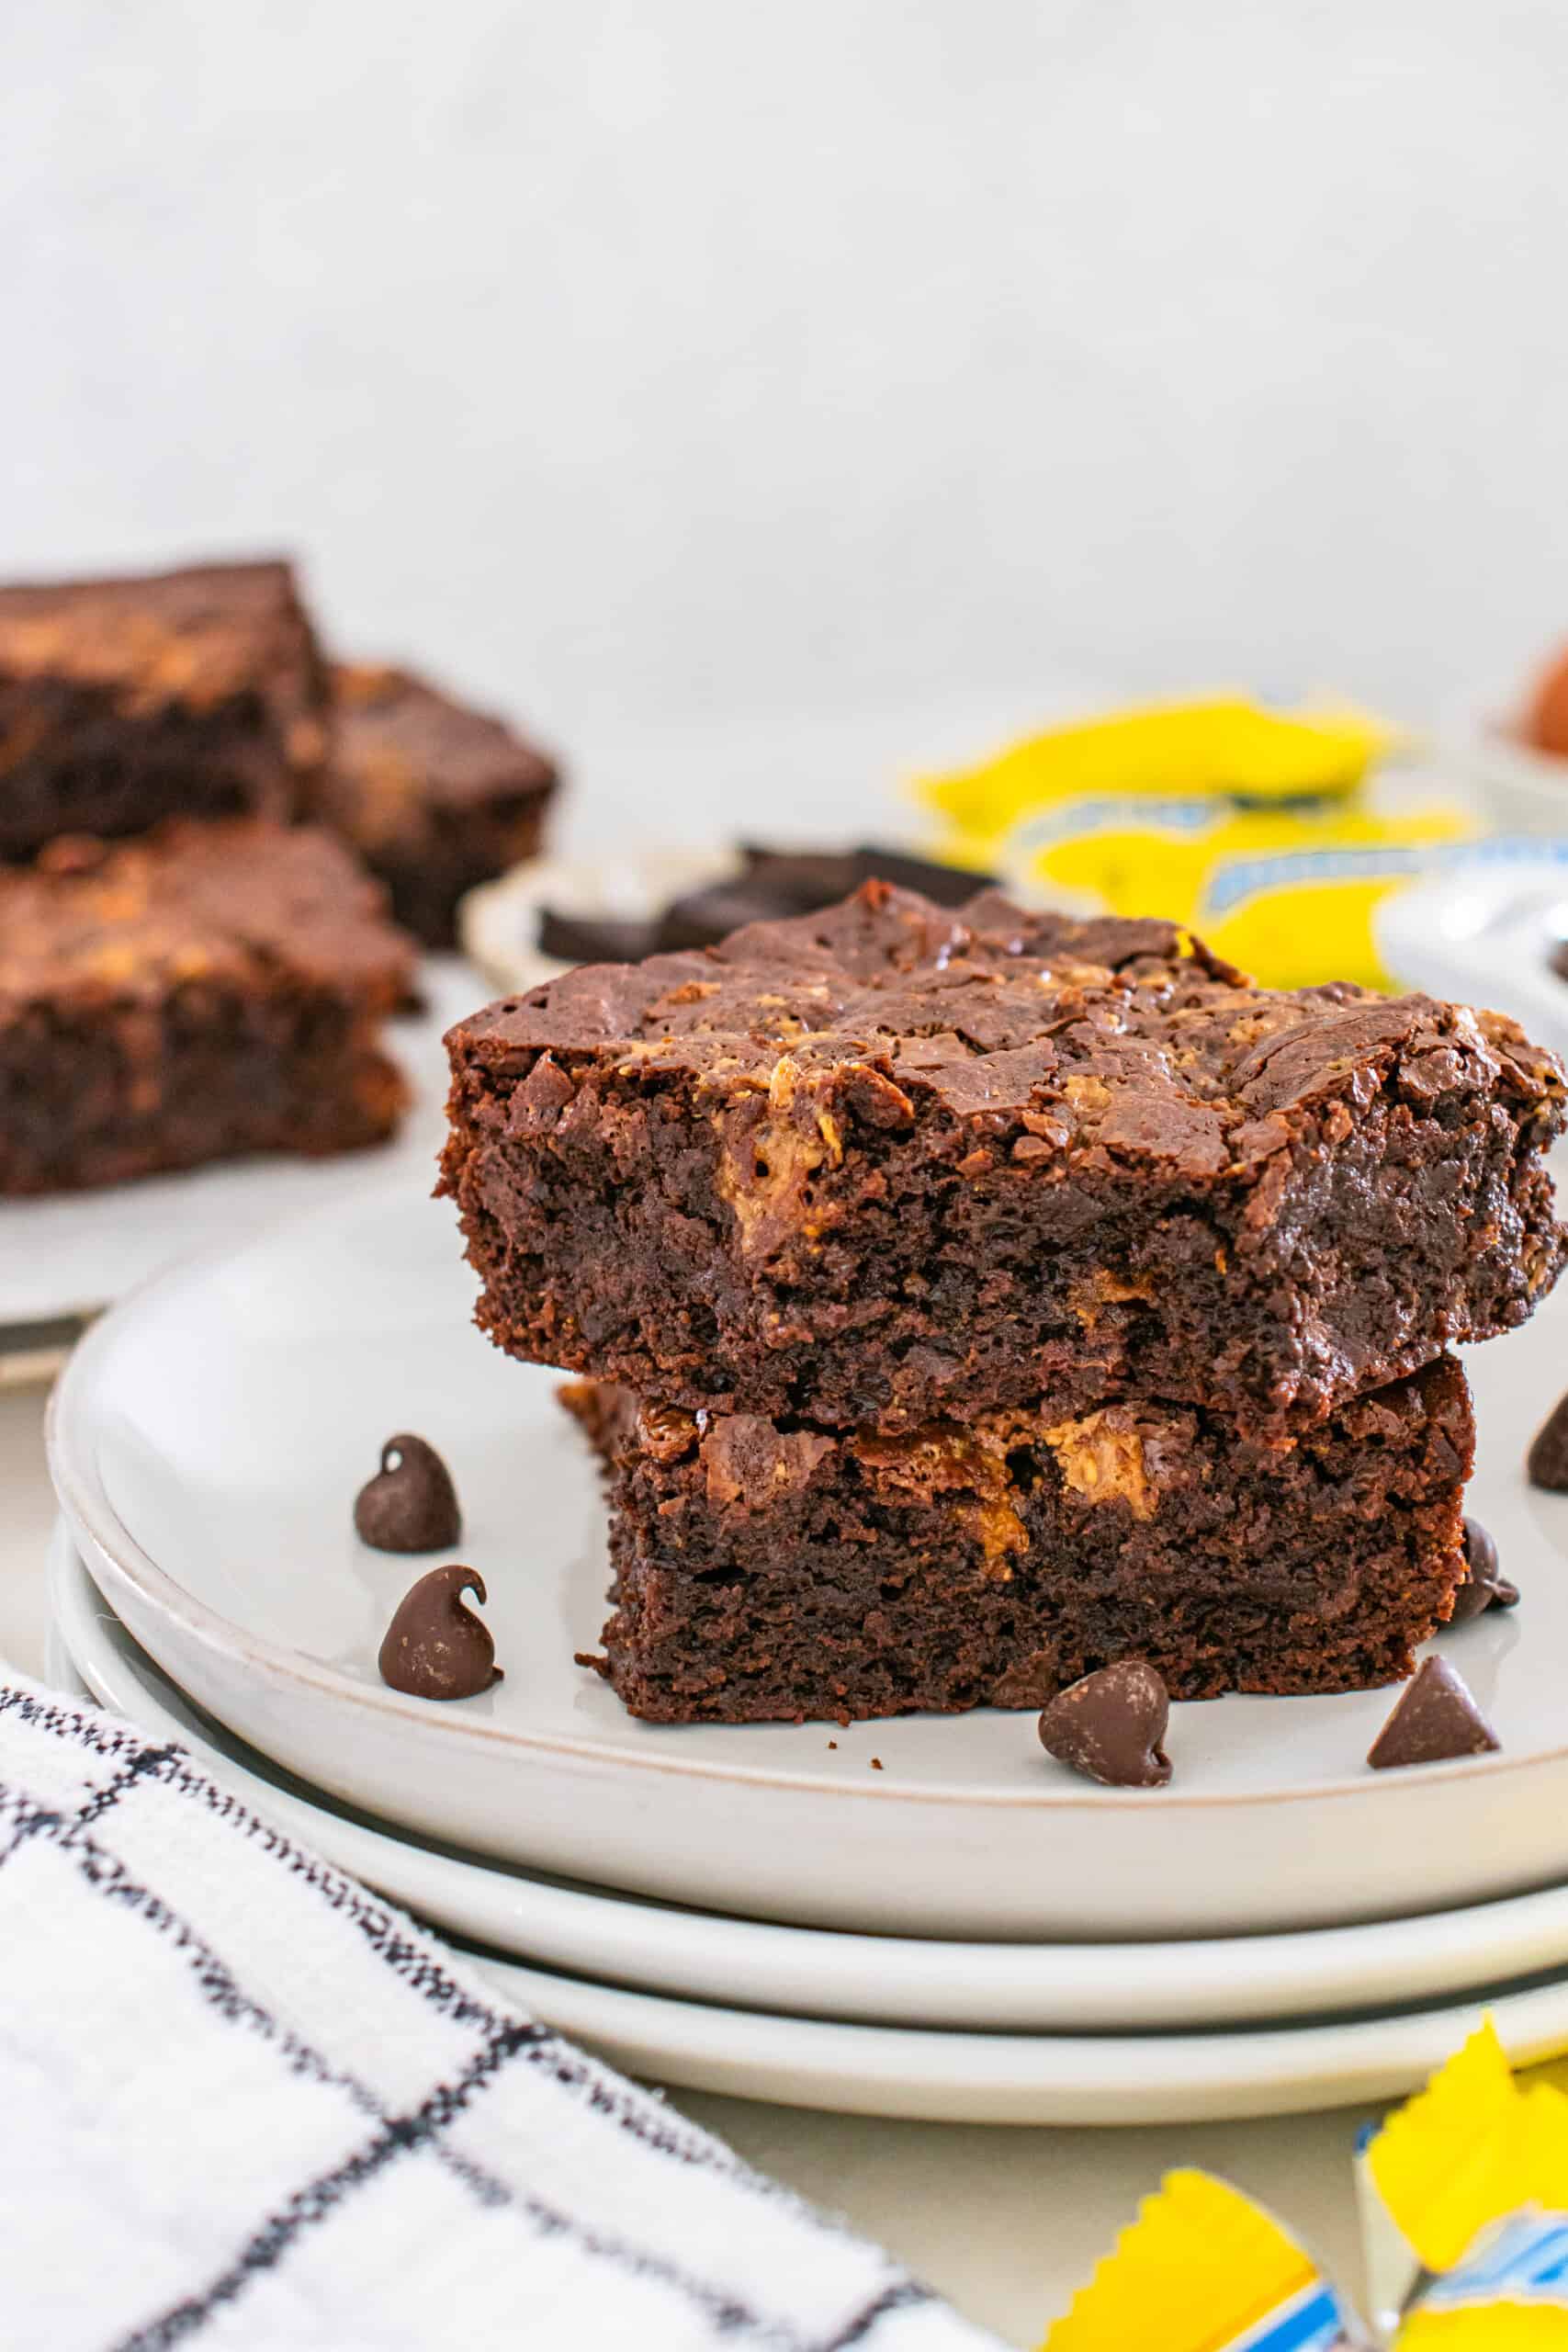
You’re here for Butterfinger Brownies, so let’s make them worth it. These are rich, fudgy, and packed with real chocolate flavor, with buttery edges and that signature crackly top, plus melted chocolate and crispy Butterfinger pieces in every bite, not just on top. The method is simple and reliable, with a quick mid-bake pan tap that creates that dense, glossy finish, so you get consistent, craveable results every time.

Ingredient Notes
- Mini chocolate chips – optional, but highly recommended for extra pockets of melty chocolate
- Salted butter – adds richness and balances the sweetness without extra steps
- Semi sweet chocolate chips – smooth chocolate base with just enough sweetness
- Unsweetened baking chocolate – deepens the flavor and keeps things from getting too sweet
- Eggs – give structure and that classic chewy texture
- Vanilla extract – rounds out the chocolate flavor
- Sugar – sweetens and helps create that shiny, crackly top
- All purpose flour – just enough to hold everything together
- Baking powder – gives a slight lift so they aren’t too dense
- Butterfinger pieces – the star, adds crunch and that signature flavor

How to Make Butterfinger Brownies
These butterfinger brownies come together in one bowl after melting the chocolate. No mixer needed. Just stir, layer, bake, done. For full recipe details, including ingredients and measurements needed, see the printable recipe card down below.
Step 1: Preheat Oven + Prep Pan
Line a 9×9 pan with parchment and lightly spray. Preheat to 350° F.
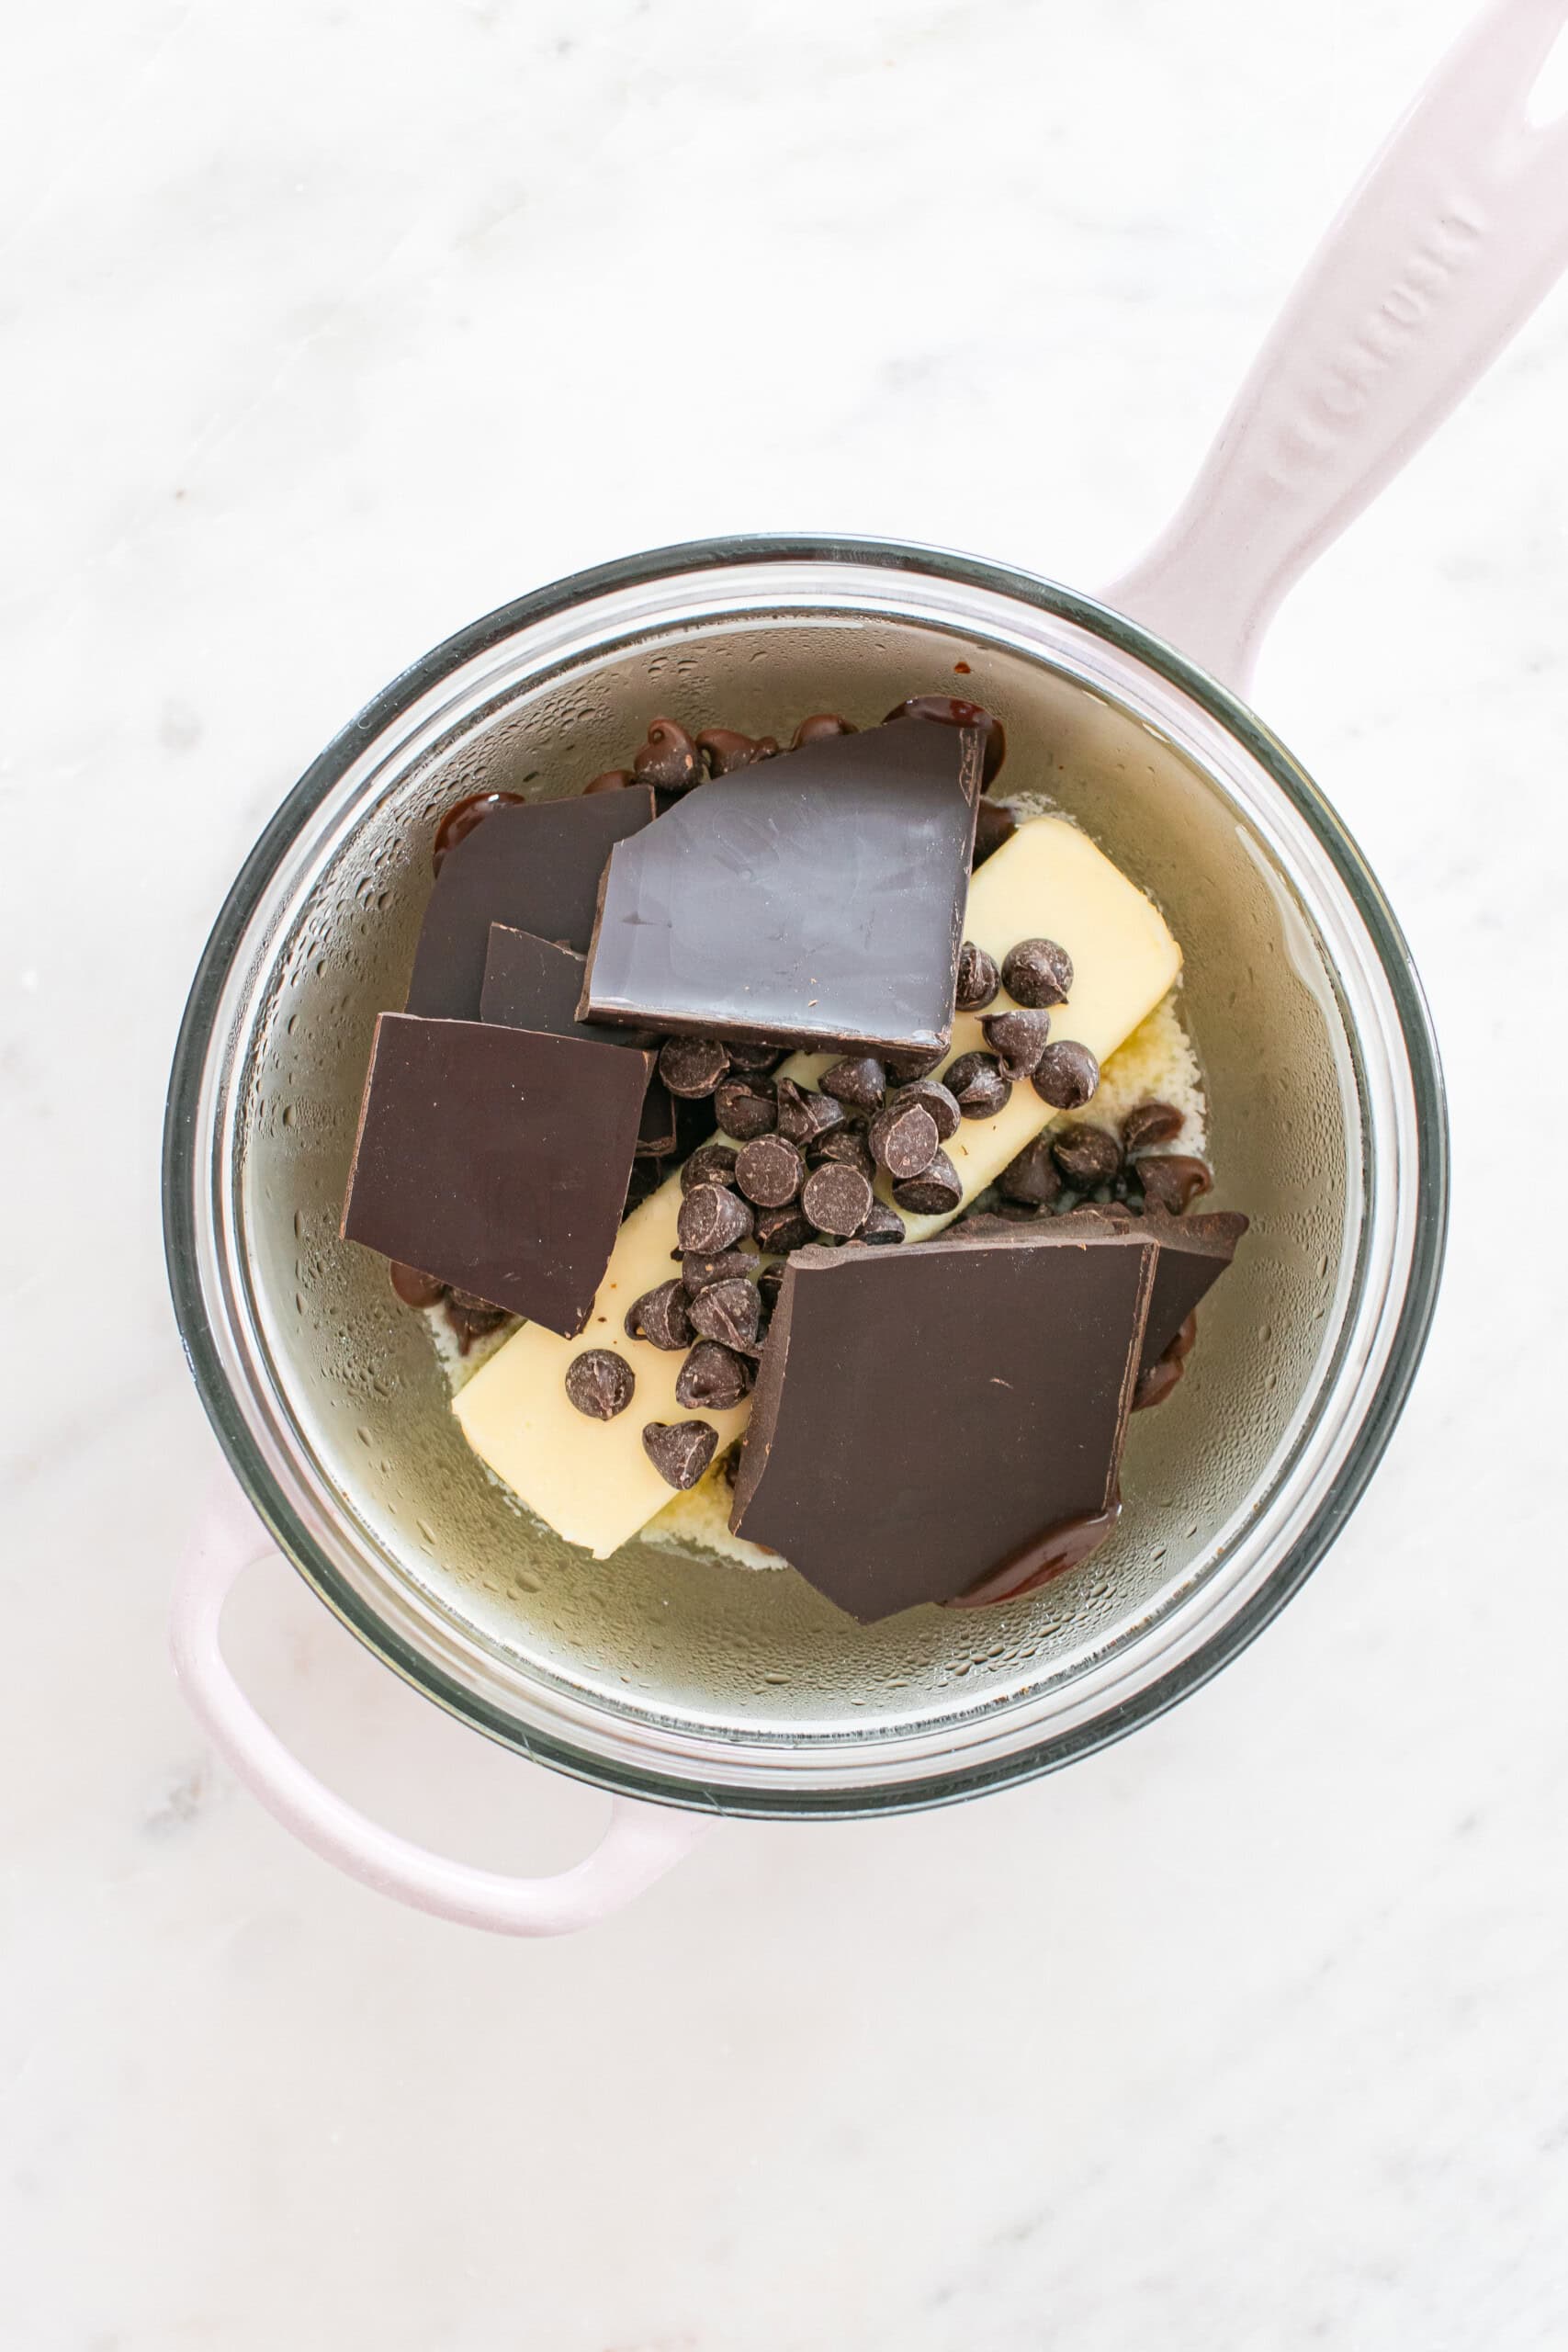
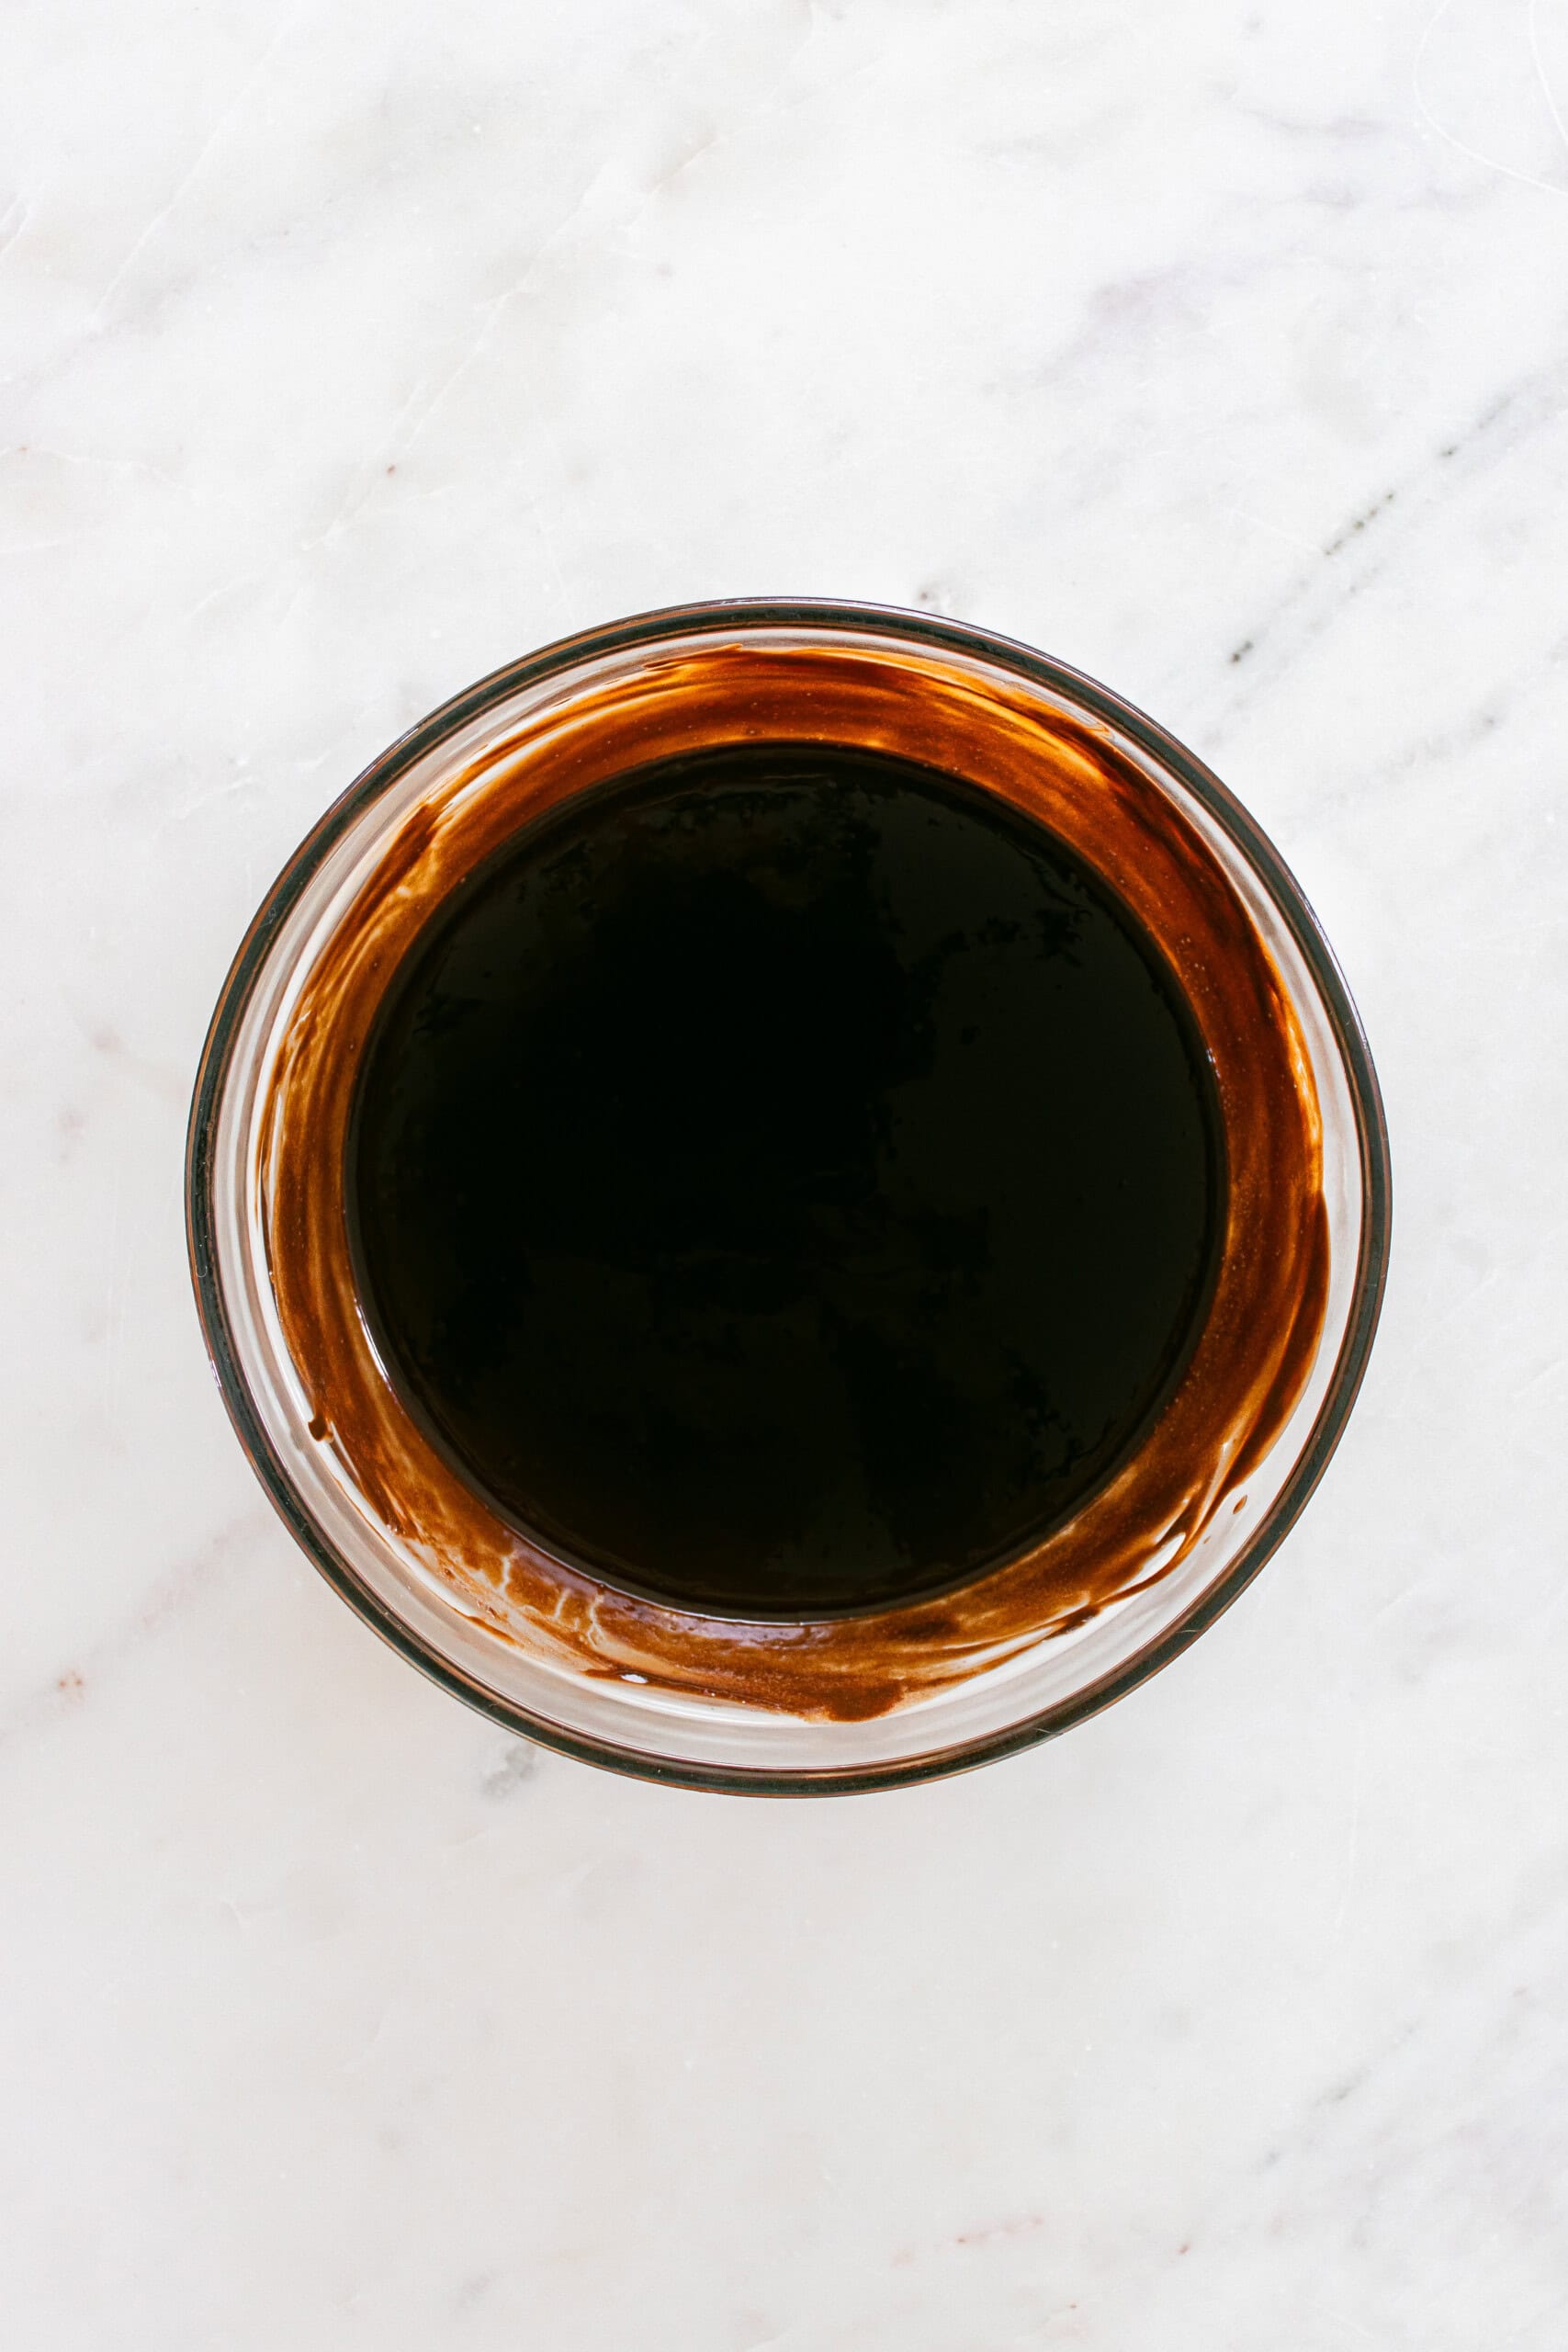
Step 2: Melt Chocolate + Butter
Use a double boiler to melt butter, chocolate chips, and baking chocolate until smooth. Cool slightly.
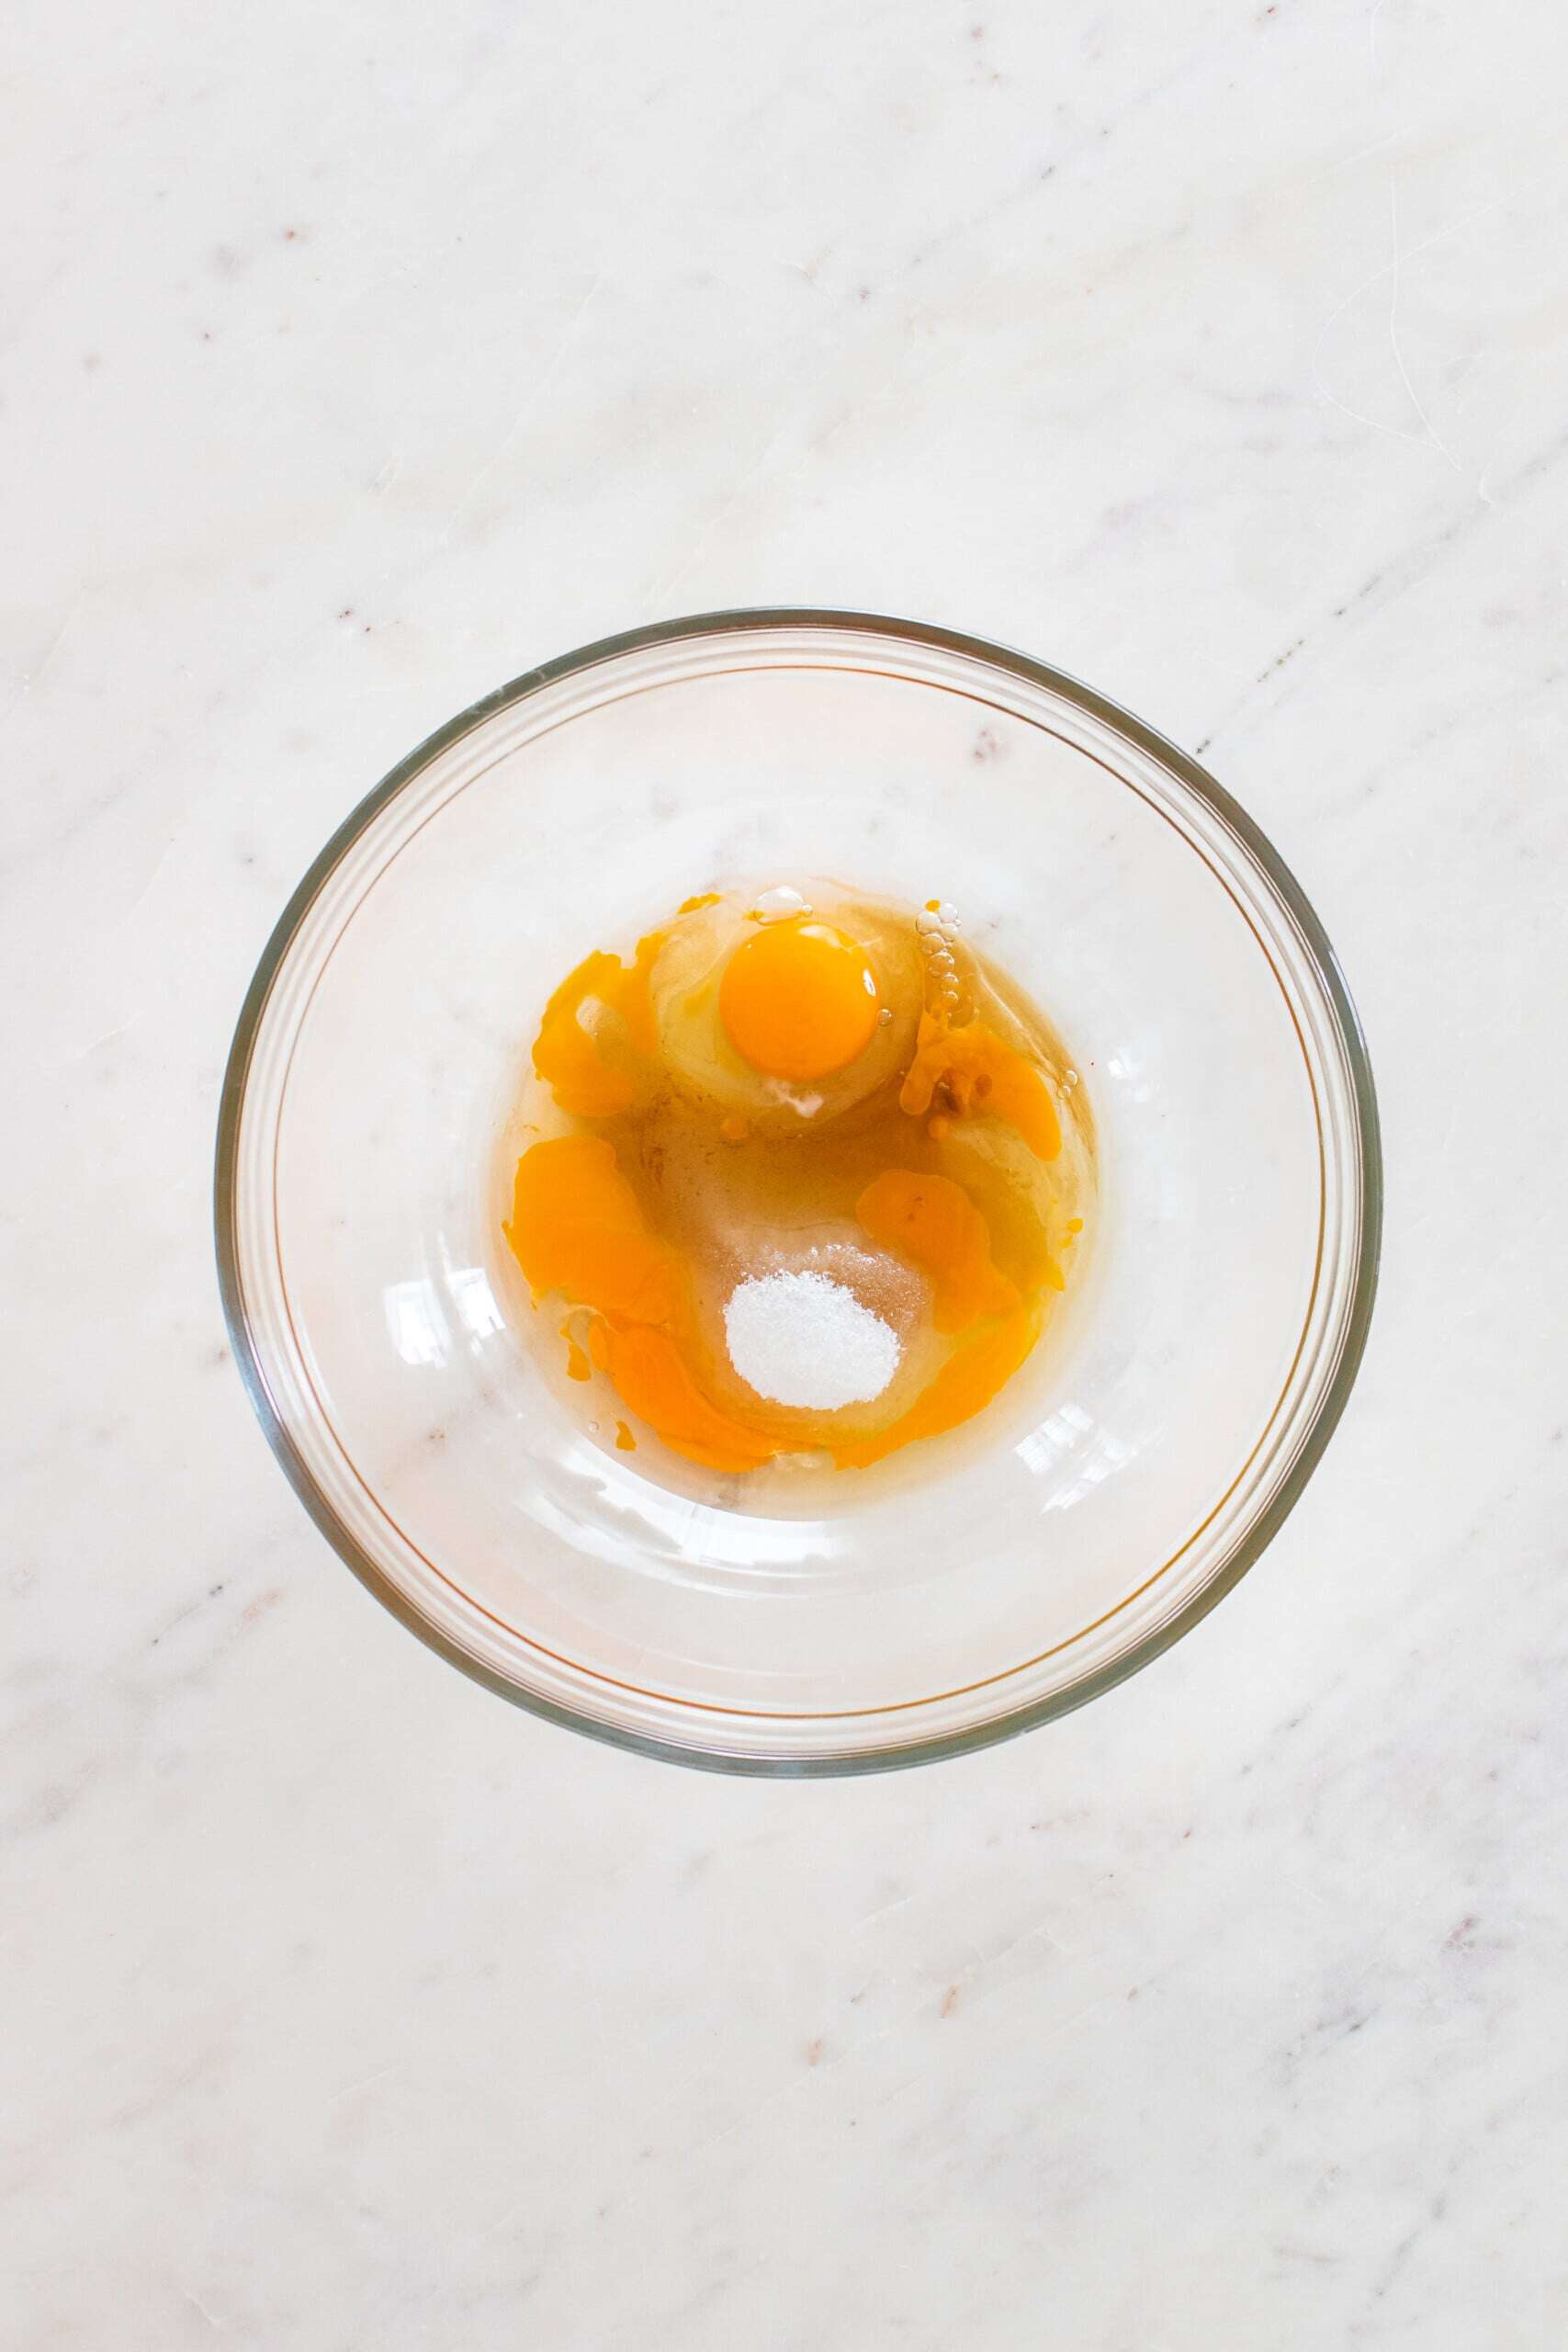
Step 3: Mix Wet Ingredients
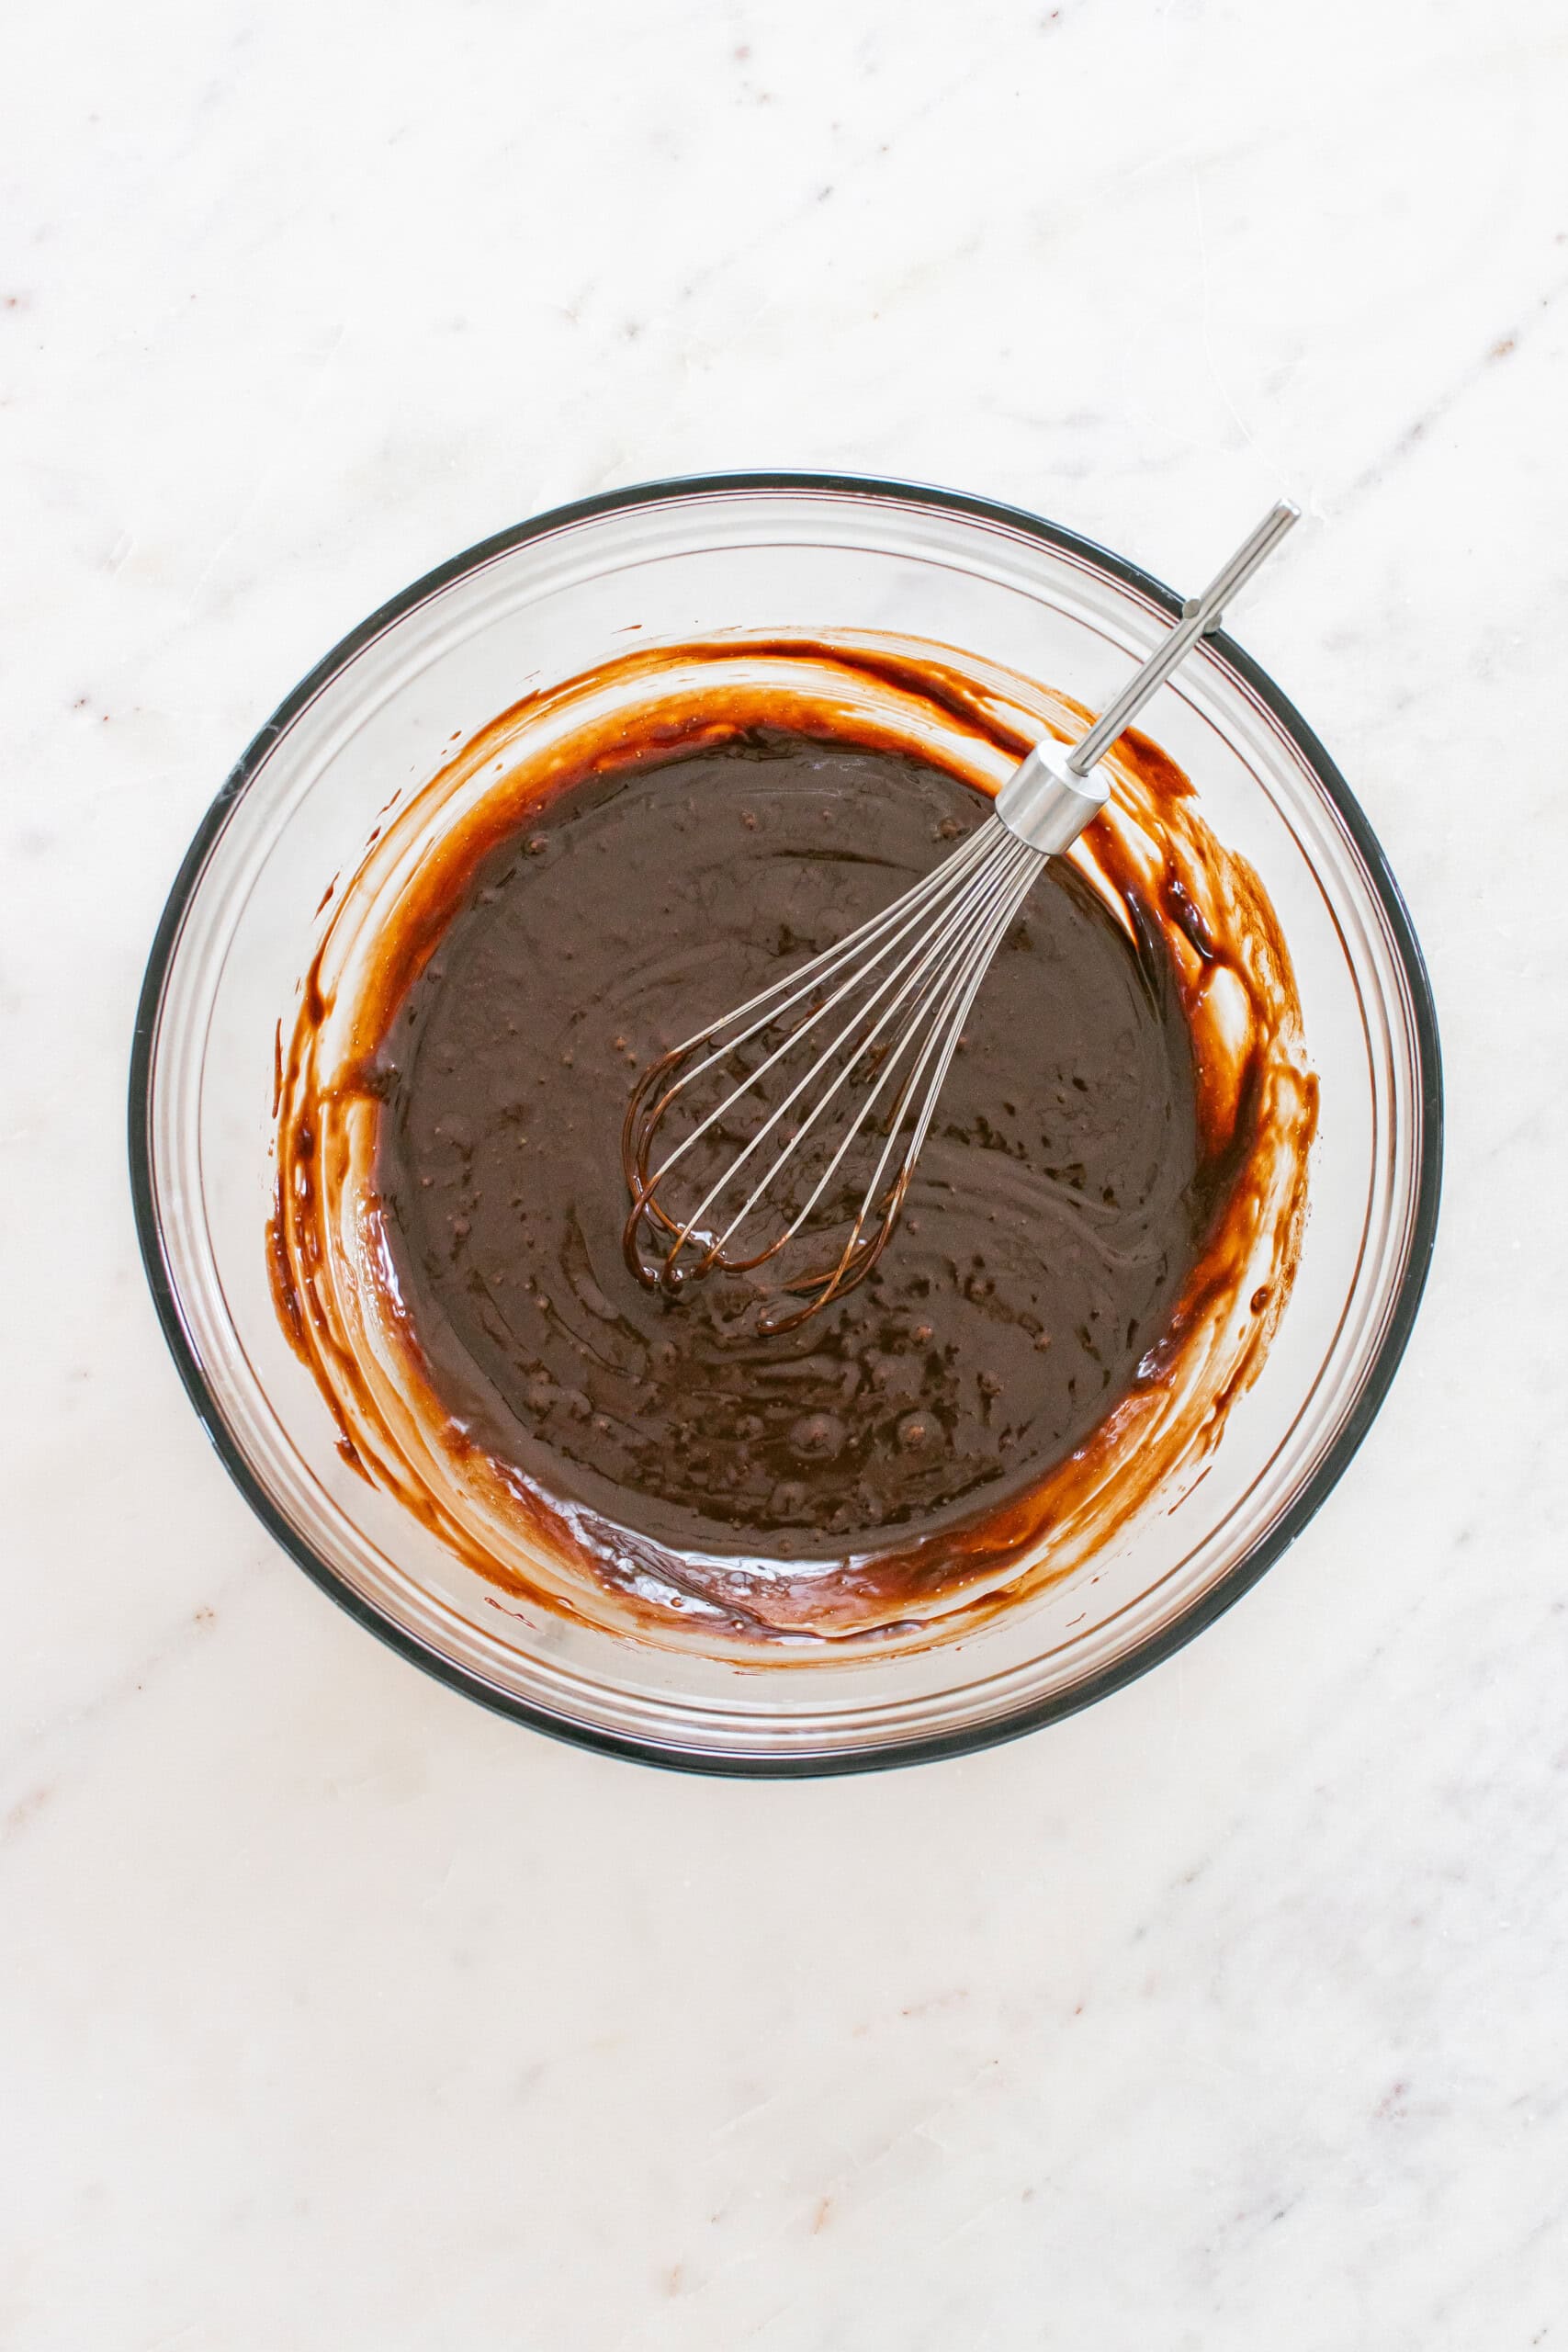
Stir eggs, vanilla extract, and sugar together. Pour in the melted chocolate mixture and stir to combine.
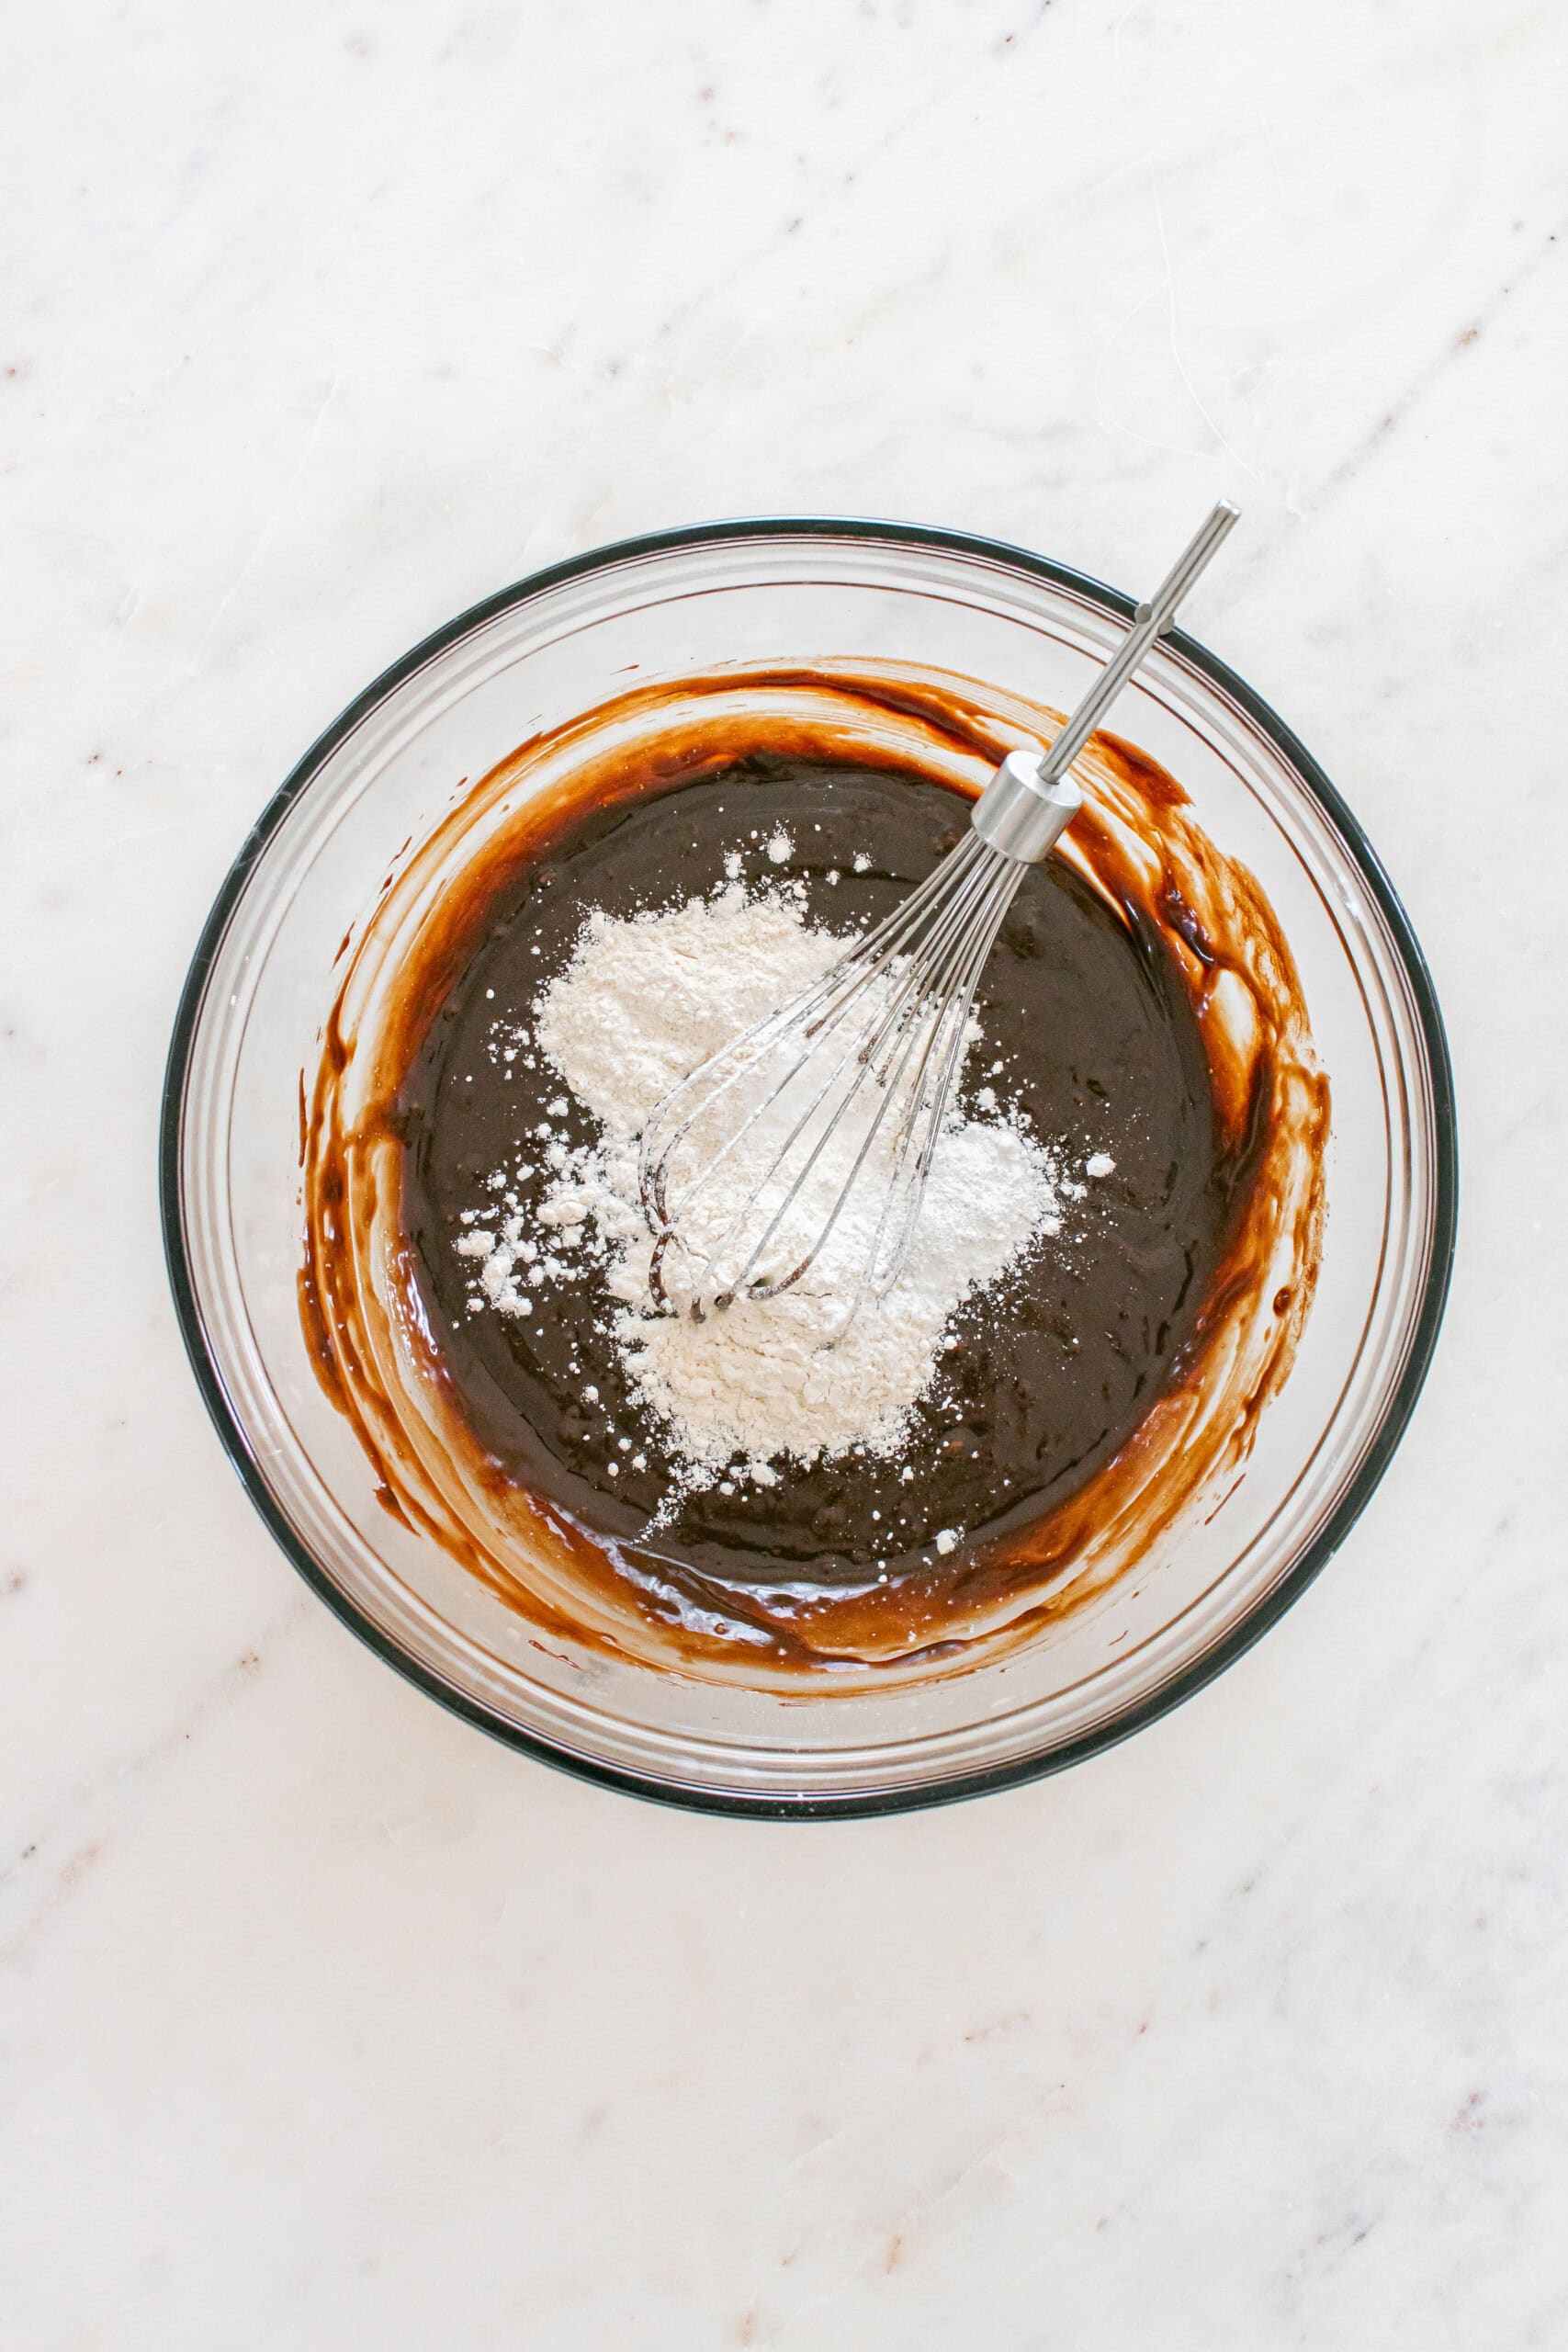
Step 4: Add Dry Ingredients
Stir in flour, baking powder, and salt until just combined.
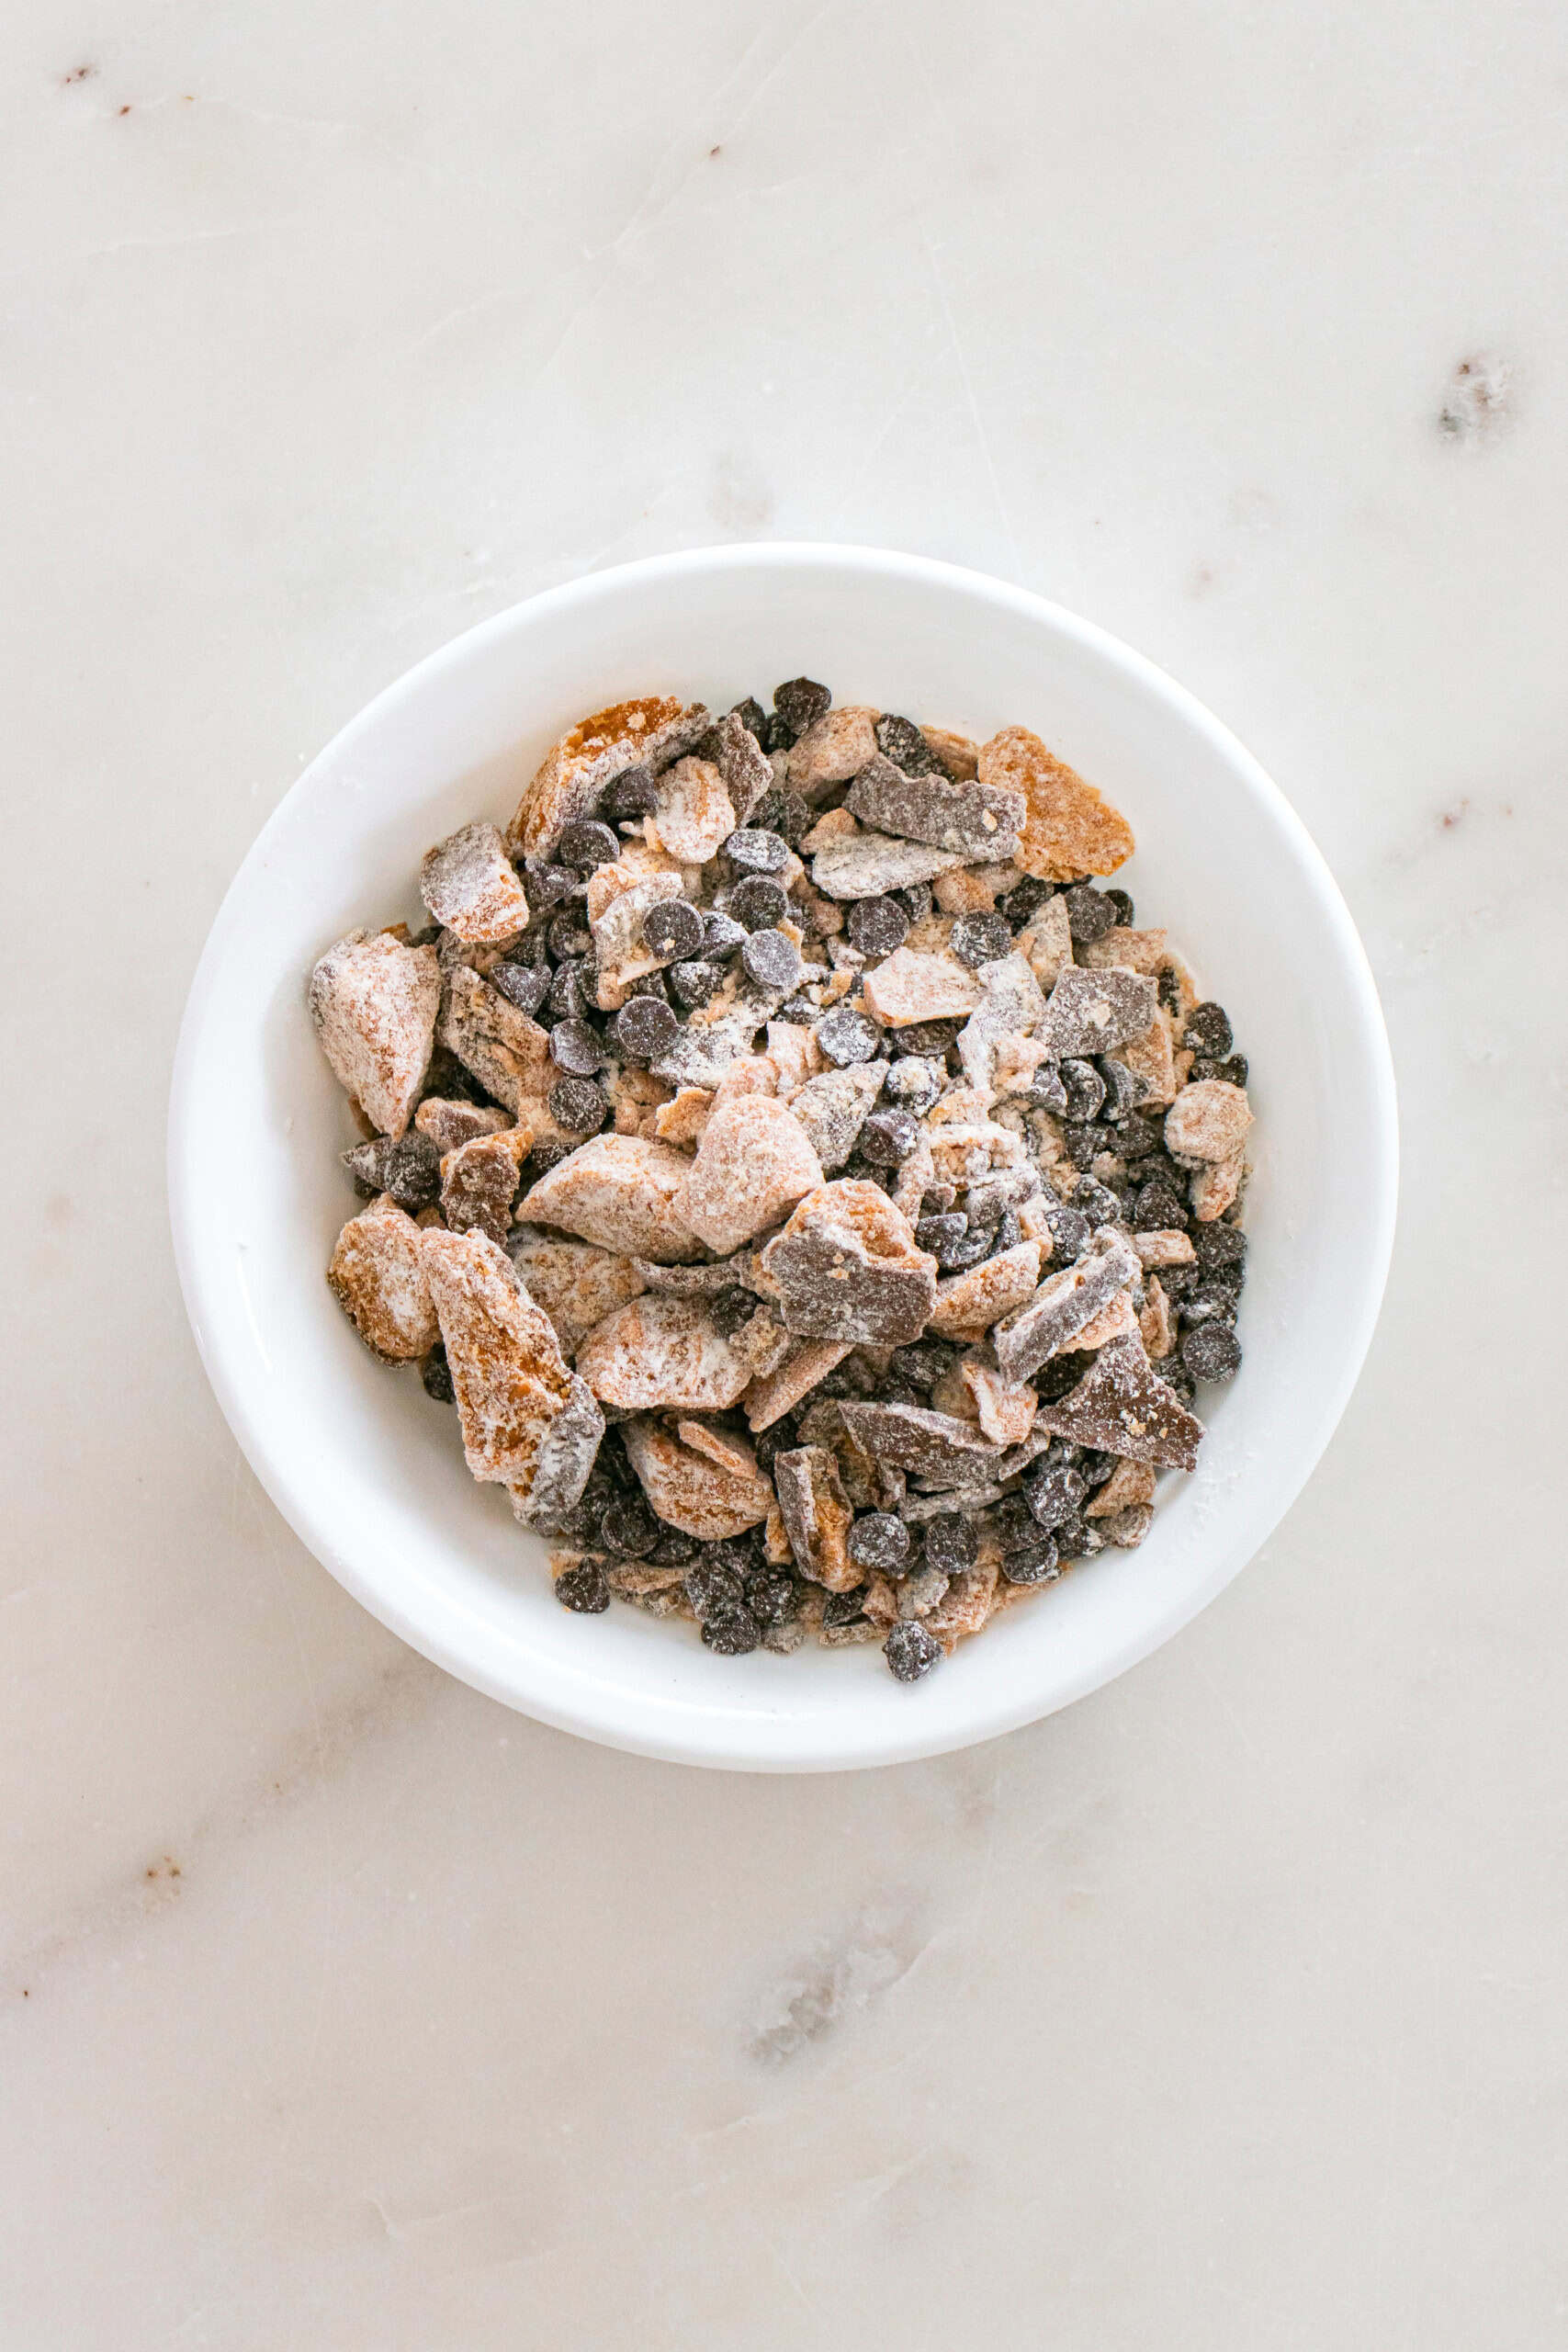
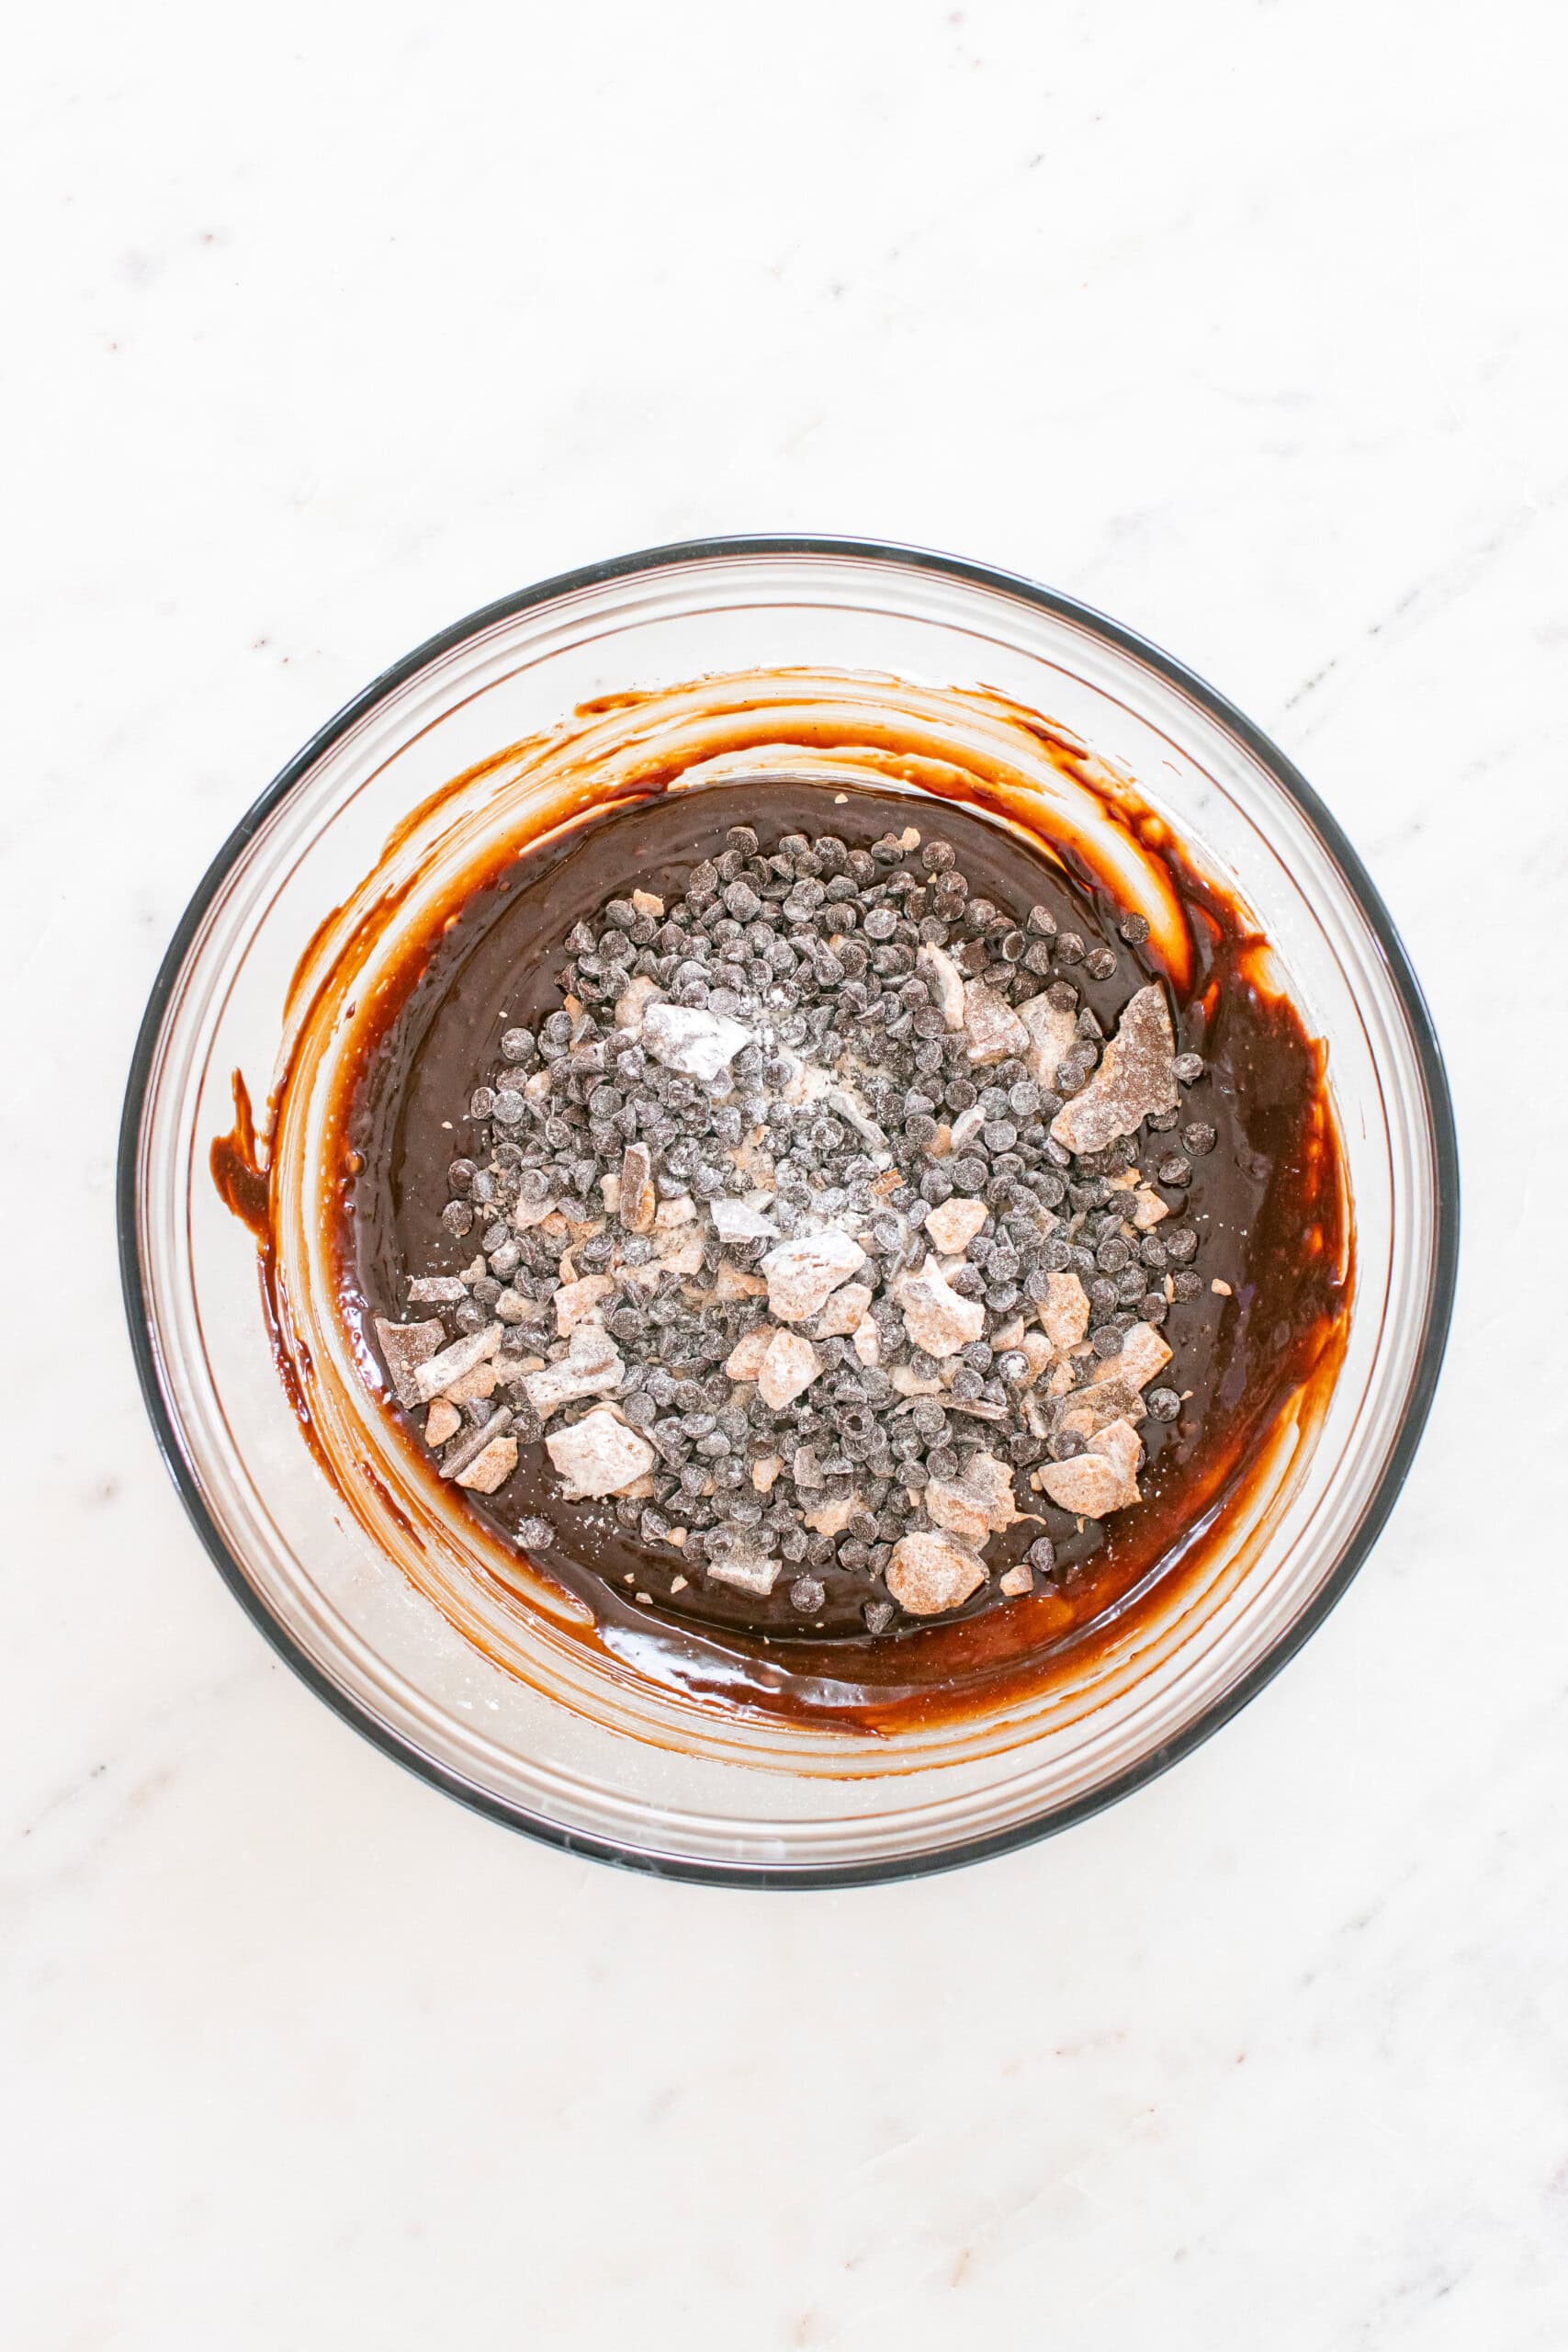
Step 5: Fold in Butterfinger + Chocolate Chips
Toss Butterfinger pieces and mini chips with a little flour, then fold into the batter.
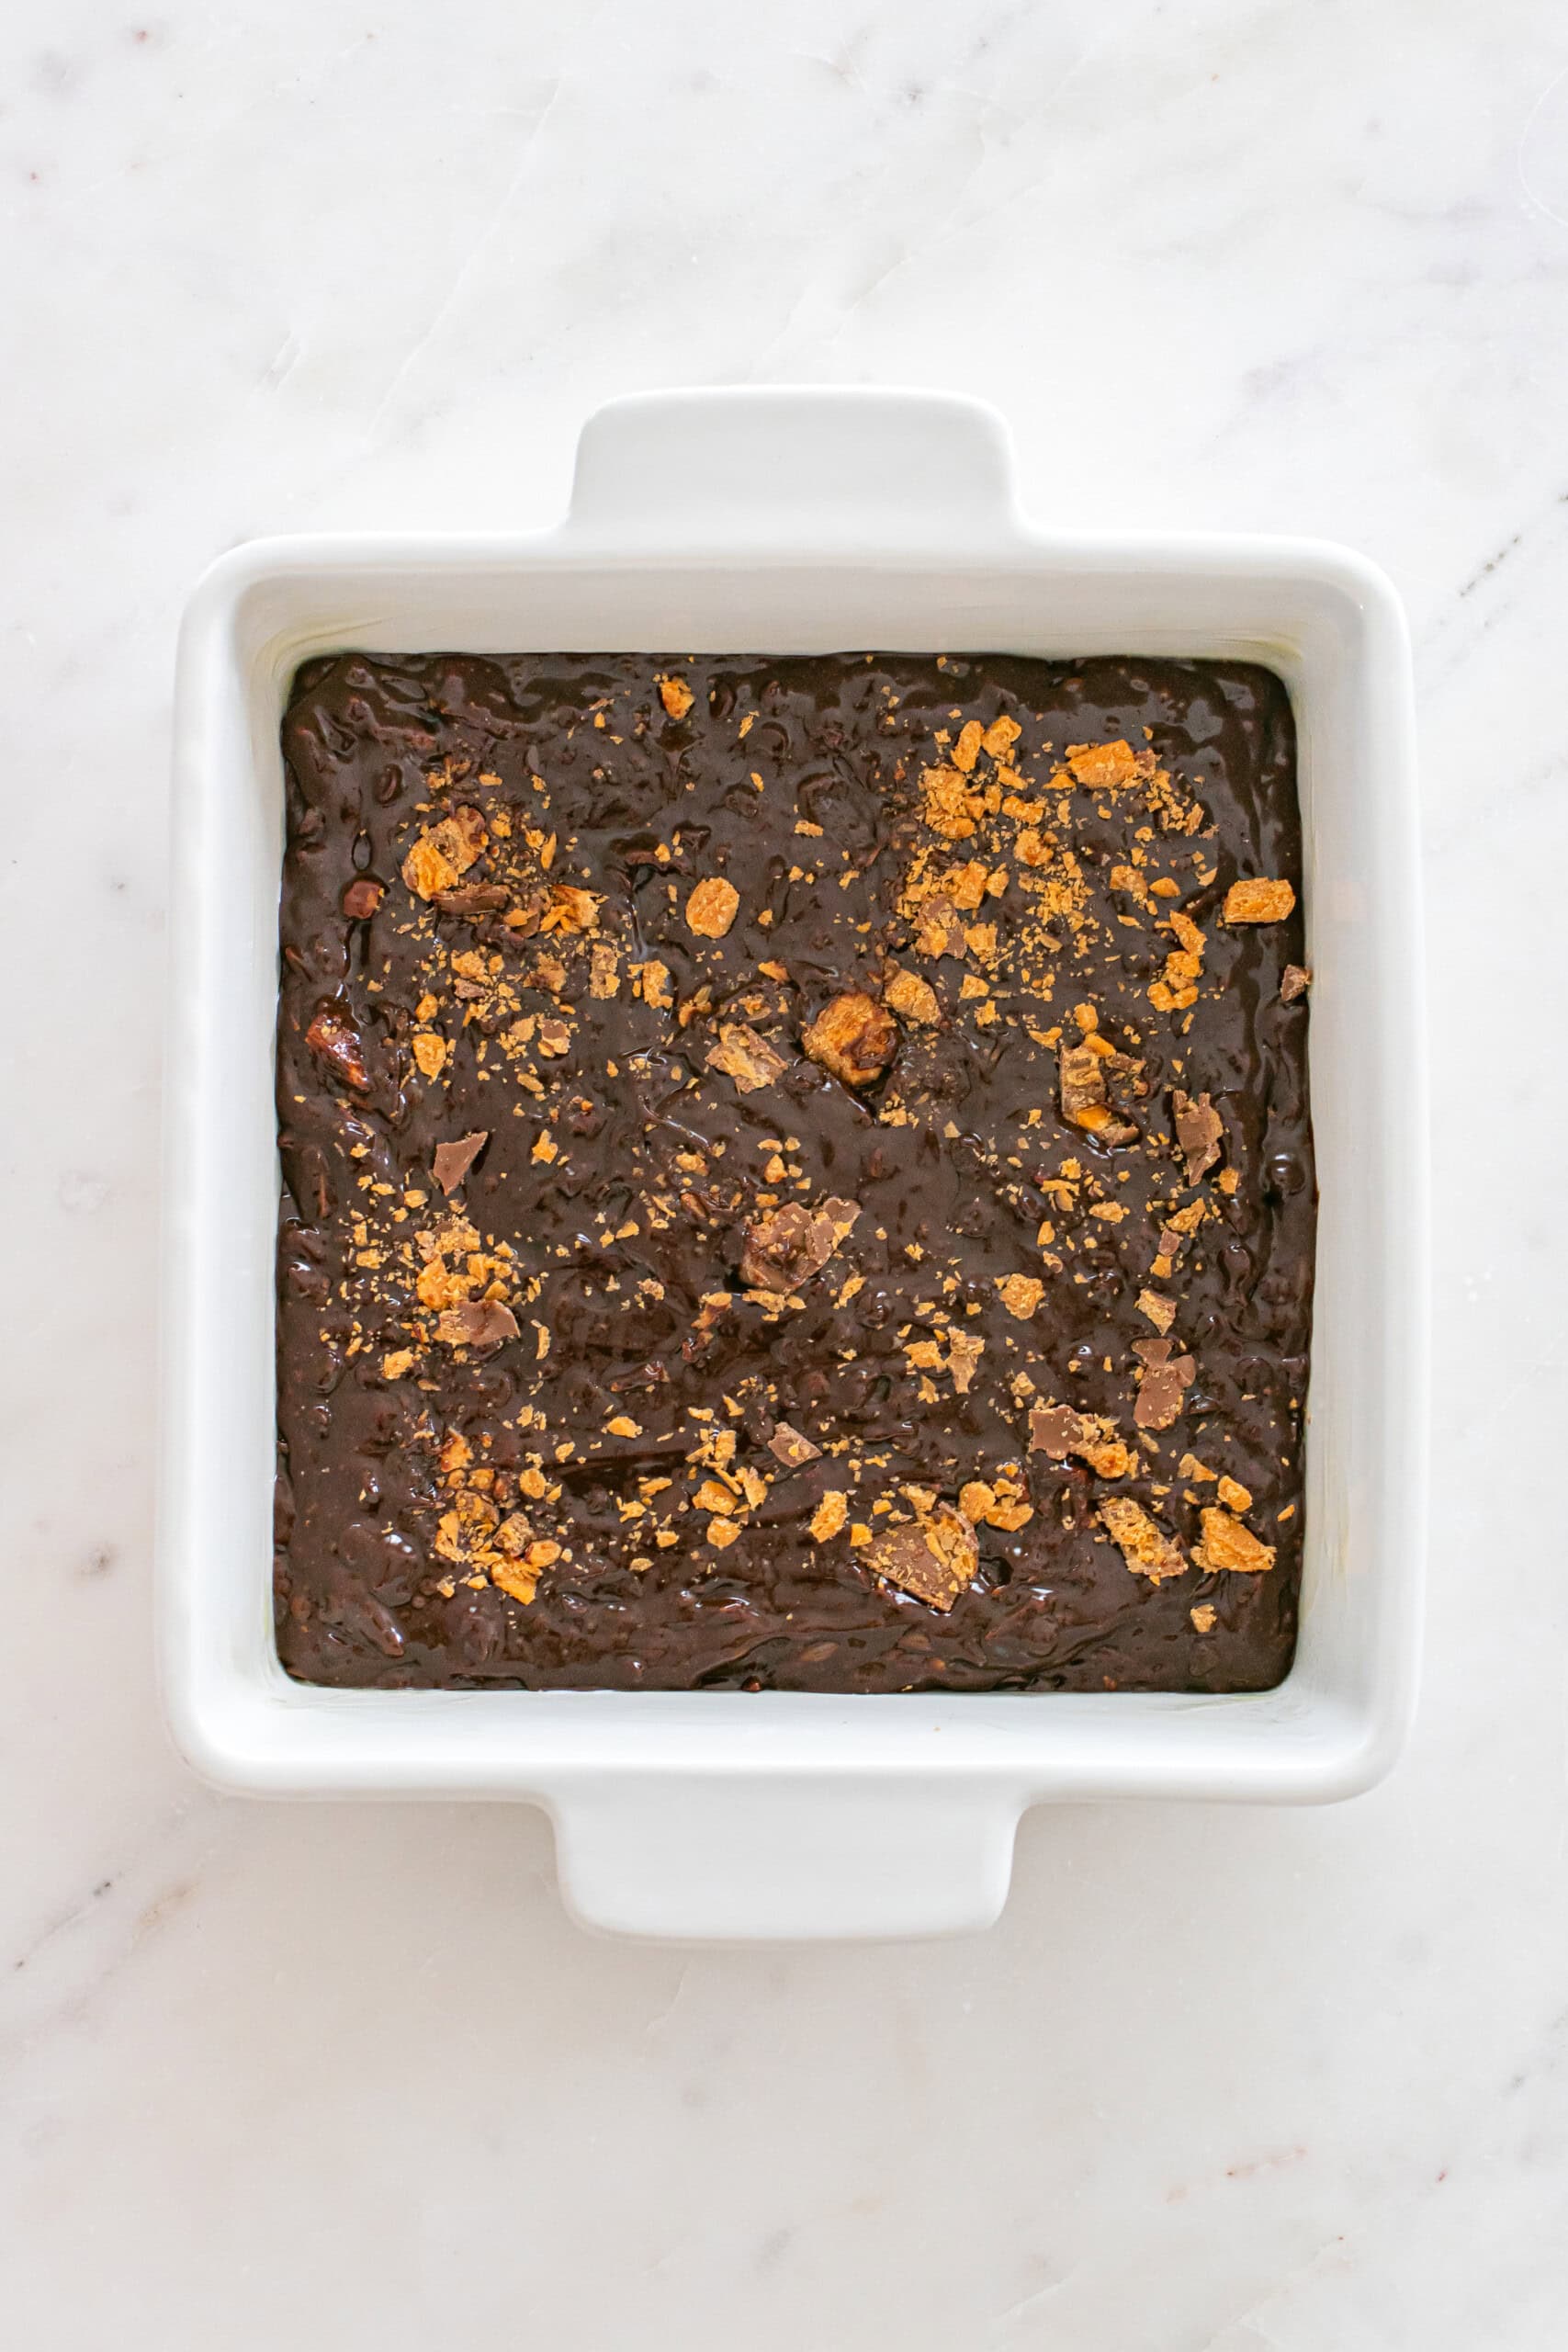
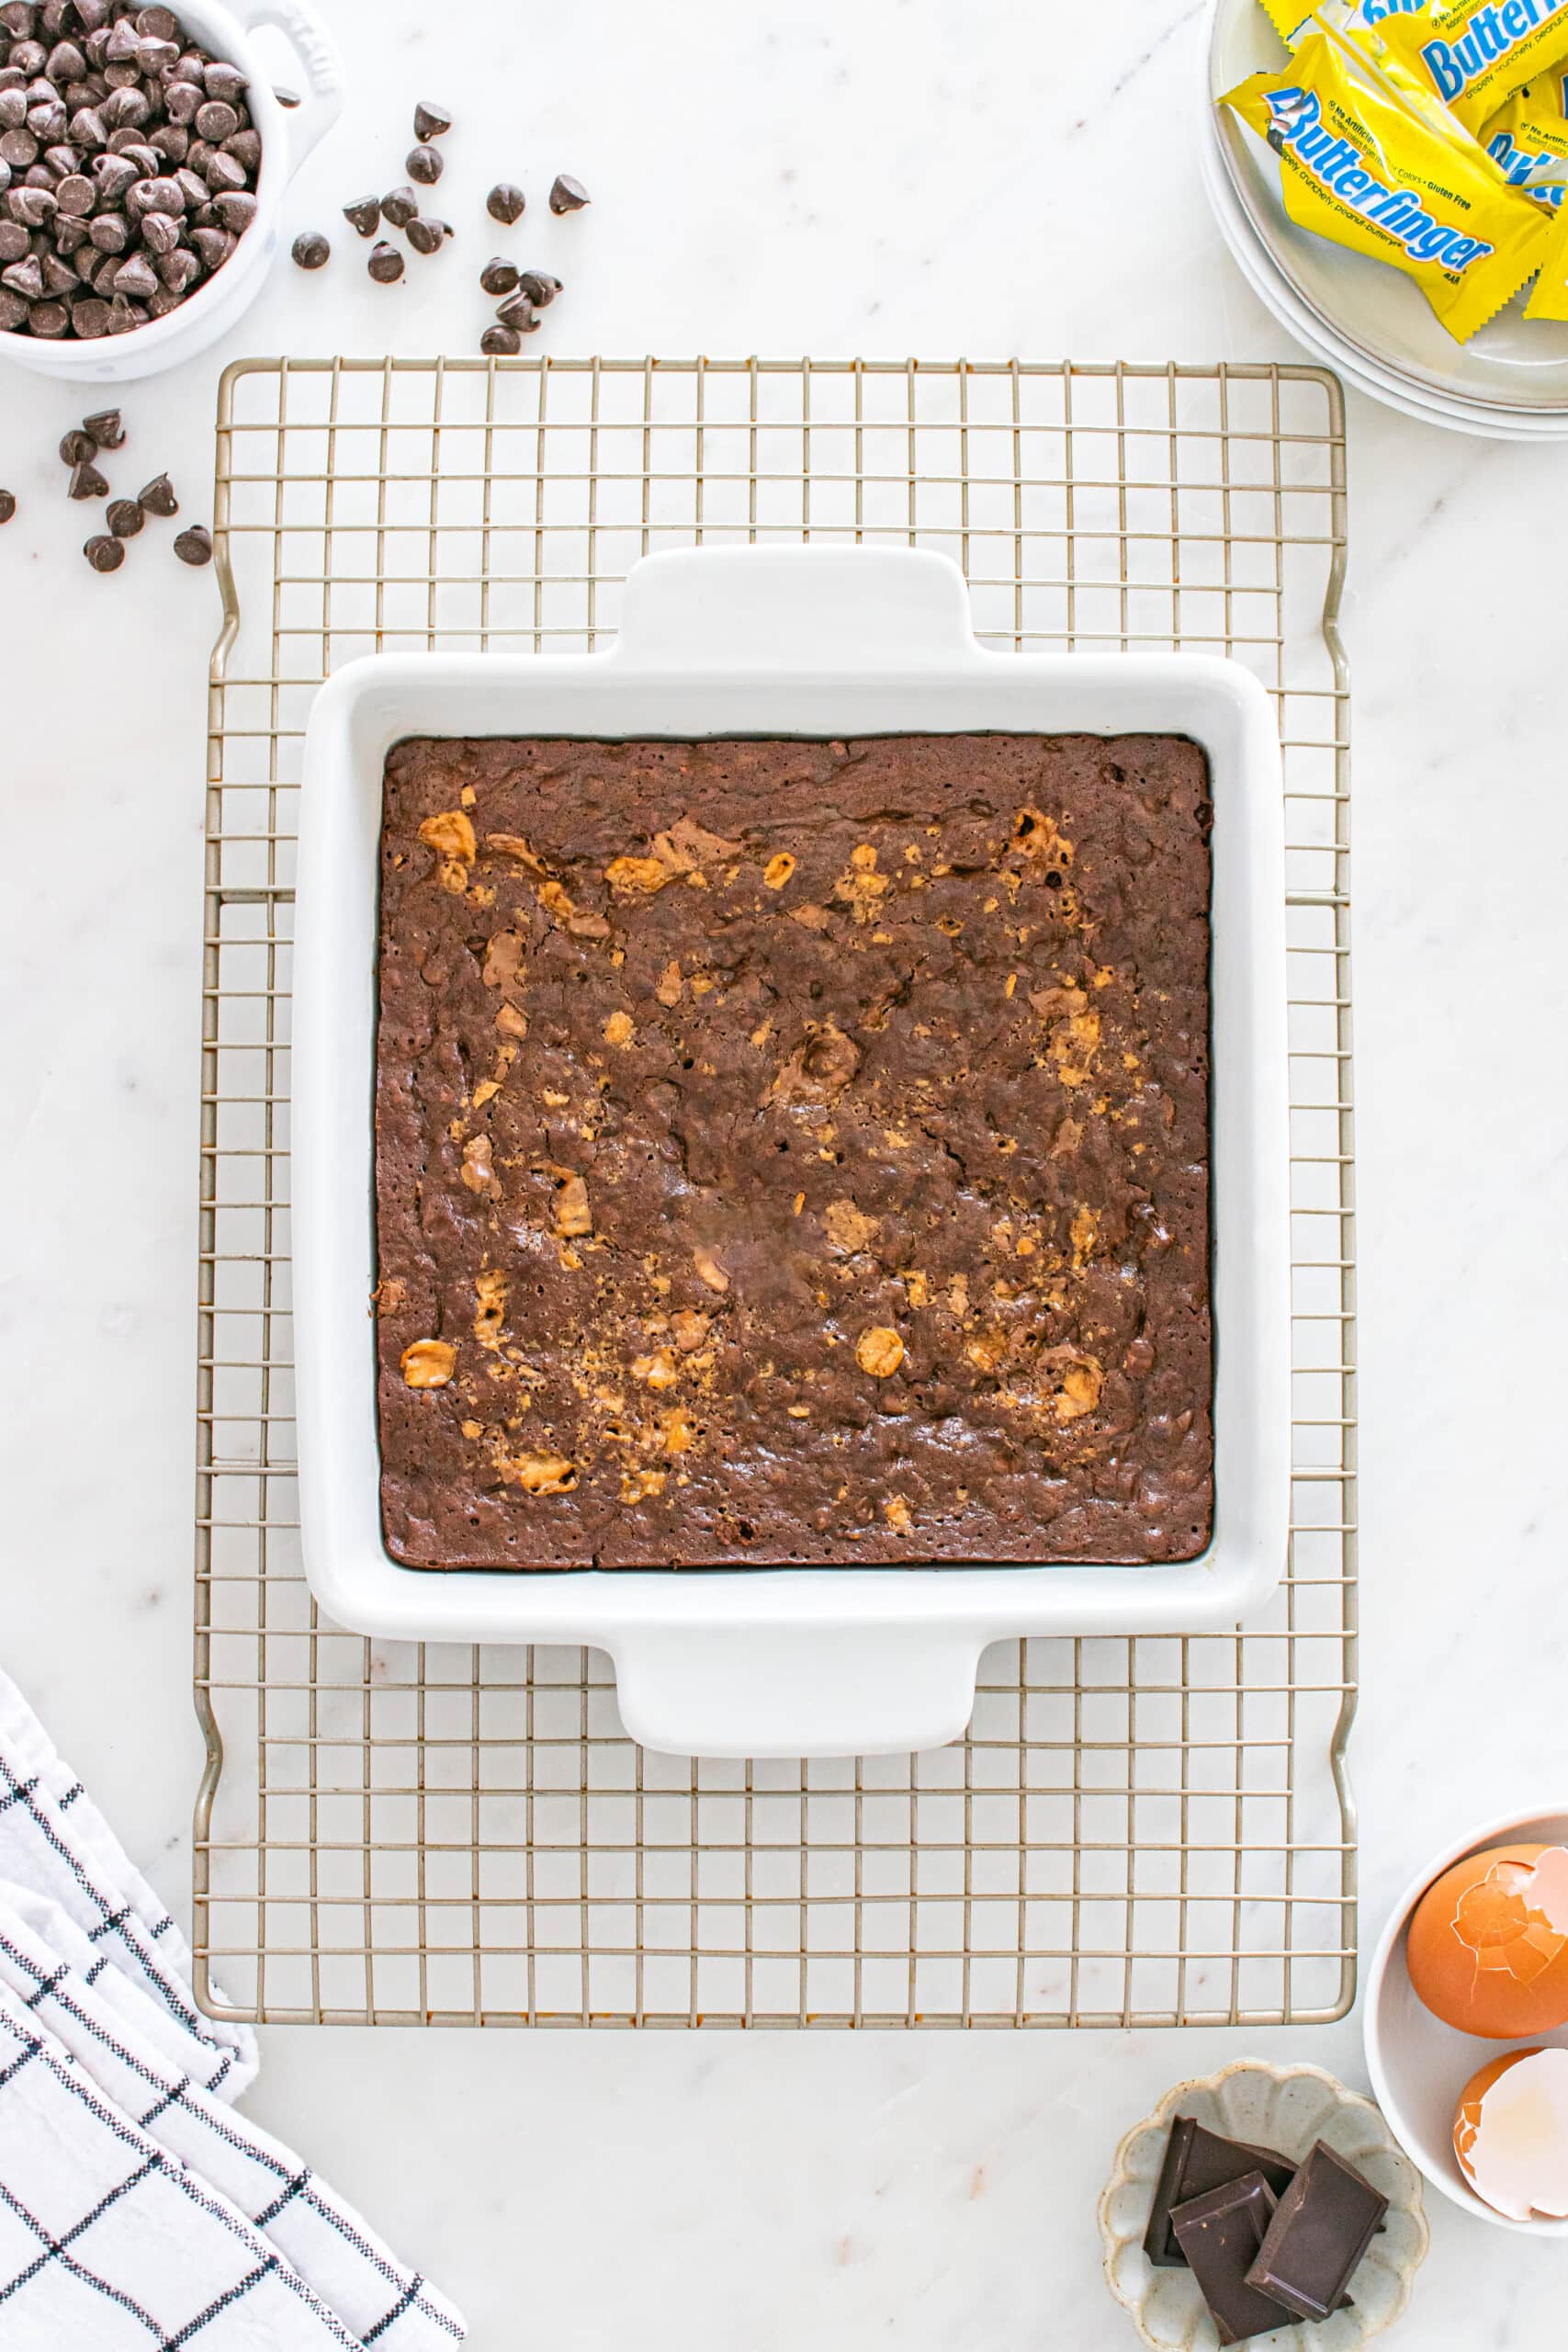
Step 6: Bake + Tap the Pan
Bake for 15 minutes, then gently tap the pan on the oven rack. Bake another 10 minutes or until set.
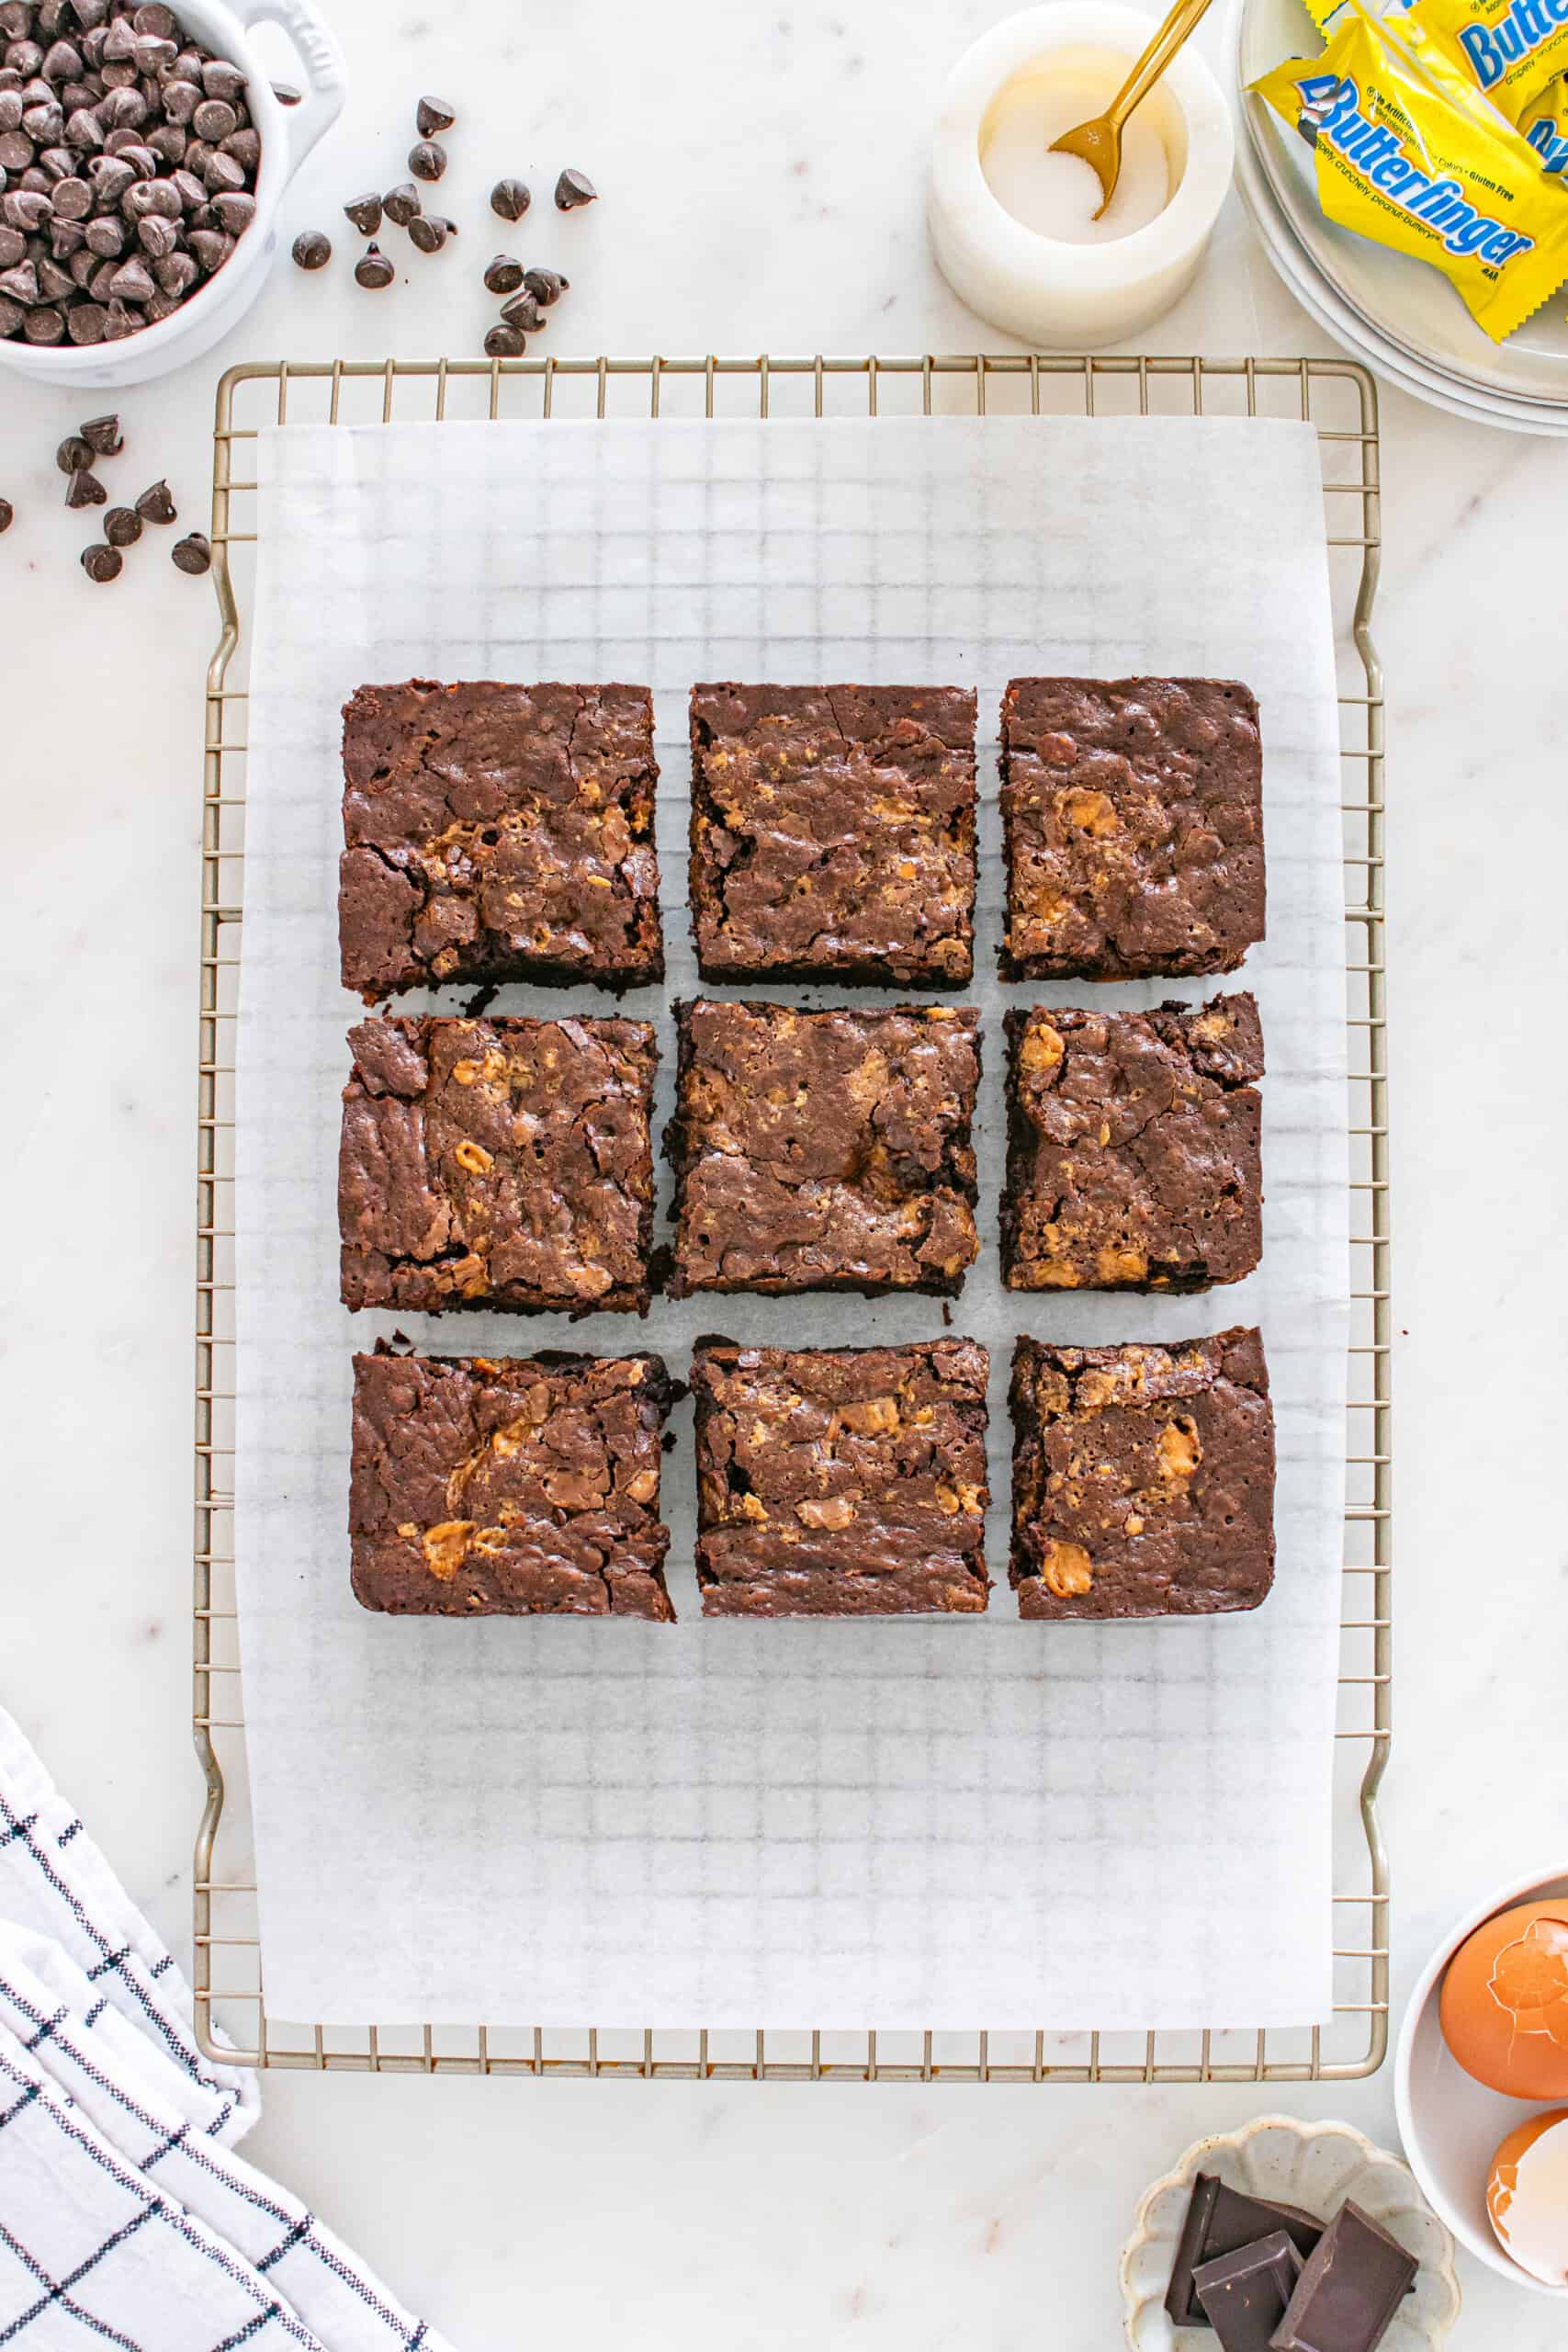
Step 7: Cool + Chill
Cool completely, then refrigerate before slicing for clean edges.
Tools You’ll Need
Before you dive in, grab these tools so everything comes together easily.
- 9×9 square baking dish
- Parchment paper
- Mixing bowls
- Double boiler
Tips for Success
- Chill before slicing, it makes a big difference in clean cuts
- Let the melted chocolate cool slightly before mixing, it keeps the eggs from scrambling
- Stir, don’t beat, this keeps the texture dense and fudgy
- Tossing the Butterfinger pieces in flour helps them stay evenly distributed
- Don’t over bake, a slightly soft center firms up as it cools
FAQ
Why do you tap the pan during baking?
It helps release air bubbles and creates a denser texture with that signature crinkly top.
Can I use a metal pan instead of glass?
Yes, just keep an eye on baking time since metal pans can bake faster.
How do I know when brownies are done?
A toothpick should come out mostly clean with a few moist crumbs, not wet batter.
These butterfinger brownies hit that perfect balance of rich, fudgy, and crunchy. Once you make them, you’ll keep coming back to this exact version. The printable recipe card is below. Have a great day, friends!
Butterfinger Brownies
Butterfinger Brownies are the most addictive brownies ever. Filled with two different chocolates and, of course, crushed butterfingers!
Equipment
- 9×9 square pan
- Small Mixing Bowls
- double broiler
- Wooden Spoon
- measuring spoons and cups
- whisk
- toothpicks
- sharp knife
Ingredients
- 1/2 cup salted butter
- 4 oz semi sweet chocolate chips about 2/3 cup
- 1 1/2 oz unsweetened baking chocolate
- 2 medium eggs
- 1 1/2 teaspoons vanilla
- 1/2 cup sugar + 1 tablespoon
- 1/4 cup all purpose flour
- 3/4 teaspoon baking powder
- pinch of salt
- 3/4 cup butterfinger pieces
- 3 oz mini chocolate chips about 1/2 cup, optional
Instructions
- Preheat oven to 350 degrees. Line a 9×9 square glass baking dish with parchment paper and spray lightly with nonstick cooking spray. Set aside.
- In a double boiler, melt butter, chocolate chips and unsweetened baking chocolate. Stir occasionally until completely smooth and melted. Remove from heat and cool 15 minutes.
- In a large bowl, stir eggs, vanilla and sugar {do not beat}. Pour in warm chocolate butter mixture and stir. Set aside to cool to room temperature, another 15 minutes or so.
- Stir in flour, baking powder & salt until combined. In a separate bowl, stir butterfinger bits with mini chocolate chips and 1 tablespoon of flour. Pour into batter and stir.
- Pour batter into prepared pan and bake 15 minutes. Rap pan against the oven shelf to force the air to escape from between the pan and the brownie dough. Bake for about 10 minutes, until a toothpick comes out clean. Do not overbake! Allow to cool thoroughly, refrigerate, and cut into squares.
Notes
Storage Instructions
Store brownies in an airtight container at room temperature for up to 3 days or refrigerate for up to 1 week. To freeze, wrap individual squares tightly and store in a freezer-safe bag for up to 2 months. Thaw in the fridge or at room temperature. You can make these ahead and chill overnight before serving, they slice better and taste even richer the next day.Nutrition
Calories: 280kcalCarbohydrates: 29gProtein: 3gFat: 18gSaturated Fat: 10gCholesterol: 49mgSodium: 110mgPotassium: 142mgFiber: 2gSugar: 21gVitamin A: 297IUCalcium: 39mgIron: 2mg
Rate This RecipePlease consider Leaving a 5-Star Review!
Variations
- Swap Butterfinger pieces with chopped peanut butter cups for a softer texture
- Add a swirl of peanut butter to the batter before baking
- Skip mini chocolate chips for a more candy-forward bite
- Sprinkle extra Butterfinger pieces on top before baking for added crunch
More Brownie Recipes to Try
If you make this recipe, I would really appreciate it if you would give it a star rating and leave your review in the comments! If you have a picture of your finished dish, post it on Instagram using the hashtag #laurenslatest and tagging me @laurens_latest.


Is 10 minutes baking a misprint?
I can not wait to try these!! My 2 favorite things..brownies and butterfingers!!
These look amazing!
[…] Butterfinger Crack Brownies […]
Hi.
These look delish ?
However I’m British & trying to work out what butterfinger bits are – is it fudge ?
Thanks.
It’s a chocolate bar! Try googling it to see if its available near you 🙂
These are amazing!!
These look so heavenly!! Thanks for the recipe 🙂
These look so delicious! Super decadent – right up my ally!
I just bought some butterfinger bits! Perfect timing. One question, you wrote the recipe was based on one by Ina (love her), and frosting by you….is the supposed to be frosting on these? I don’t see a recipe for frosting. I can’t wait to try these!
Plenty of Mr Baby’s pic will be excellent 😀 Can’t wait